Help Centre

Texo SuperCache — User Guide

Back to Help Centre

BETA SOFTWARE — Texo SuperCache is currently in beta. Core functionality is stable and in active use, but you may encounter rough edges. Please submit a support ticket for anything unexpected so we can fix it promptly. We appreciate your patience and feedback as we work toward a full release.

This guide reflects plugin version 8.3.150 (July 2026). See What’s Changed Recently at the end for a summary of updates since the previous edition.

For WordPress MAX customers

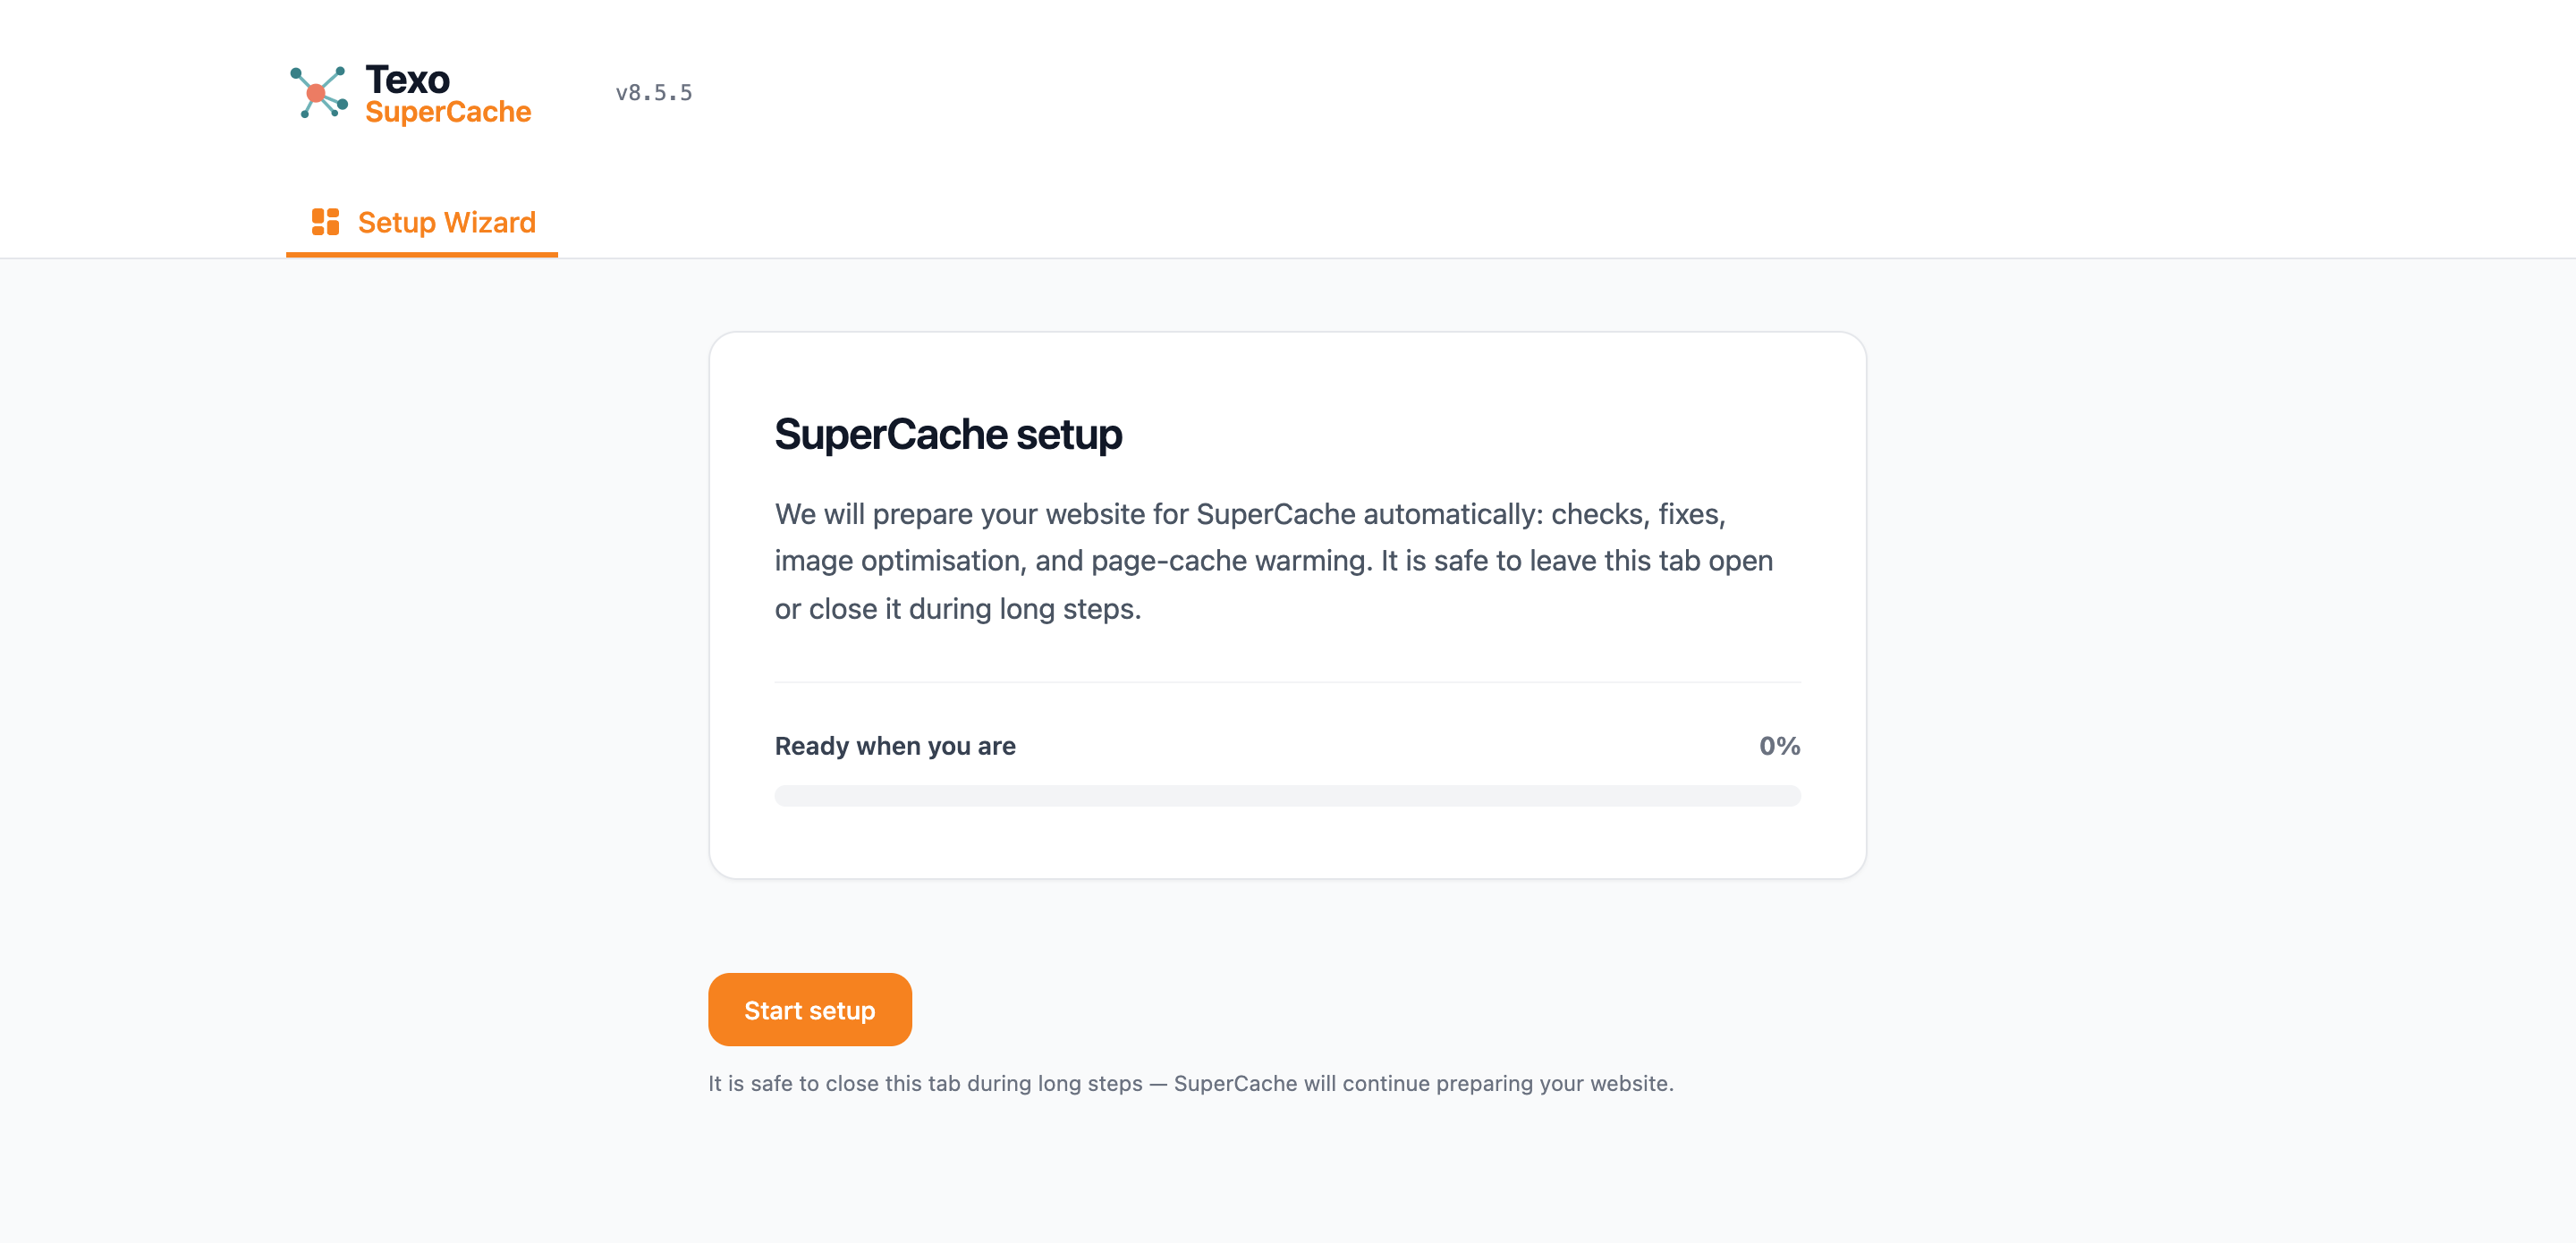
Build your site first. Install WordPress with WordPress Management, then design and publish your pages. Wait to enable SuperCache until you are ready to go live or want maximum speed.

Contact Texo support when you are ready. We will:

  1. Install and activate Texo SuperCache
  2. Configure and optimise it for your site
  3. Enable Redis object cache
  4. Add your domain to Cloudflare (if needed)
  5. Run Purge & Preload, then enable Cloudflare Page Caching

That order matters: preload optimised pages first, then turn on edge caching. Details below.

What Texo SuperCache Does

When a visitor lands on your WordPress site, WordPress normally has to load PHP, query the database, run plugins, and build the page on every single request. On a busy site this can take 1–3 seconds per visitor.

Texo SuperCache short-circuits all of that. It pre-builds every page on your site into a static HTML snapshot, then serves that snapshot directly — no PHP, no database, no plugins. The result is a page delivered in under 50ms regardless of how many visitors you have.

On top of caching, the plugin optimises every page it caches: unused CSS is stripped, JavaScript is deferred, images are lazy-loaded, fonts are preloaded, and background elements are only rendered when they scroll into view. These optimisations directly improve your Google PageSpeed (Core Web Vitals) score.

First-Time Setup — The Right Order

Getting the best results requires doing things in the right order, especially when Cloudflare is involved.

Recommended sequence

  • Install and activate the plugin. It automatically sets up your Cloudflare credentials (if the server is on a Texo-managed host).
  • Click Purge & Preload on the Dashboard tab. Wait for the preload to finish — you can watch progress in the Debug Log (Settings tab). This builds the fully-optimised HTML snapshot for every page on your site.
  • Only after preloading is complete, enable Cloudflare Page Caching on the CDN tab. This tells Cloudflare’s global edge network to cache your pages so visitors worldwide get them served from the nearest data centre.

Why this order matters

When a page has not been preloaded yet, Texo SuperCache has no cached file to serve — so WordPress generates the page normally and returns it unoptimised. Texo SuperCache marks those responses with Cache-Control: no-store, which instructs Cloudflare not to cache them. So Cloudflare will never cache a bad version of your page.

However, if you turn on Cloudflare Page Caching before preloading, Cloudflare cannot serve anything from its edge (because every response says “don’t cache me”) until the preload populates the local cache. The practical effect is: Cloudflare adds latency during setup without adding any benefit. Preload first, then switch Cloudflare on, and from the first visitor after that, every page is served from the edge at full speed.

The Admin Bar Button — View as Visitor

At the top of every page you’ll see a View as Visitor button in the WordPress admin bar. Clicking it opens your site in a new browser tab exactly as a logged-out visitor would see it — serving the actual cached, optimised page instead of the logged-in admin version.

Use this to verify that your pages look correct after a preload, or to show a client what their site looks like at full speed.

The session lasts 30 minutes. To return to normal admin view, simply log out and log back in, or navigate to any wp-admin page.

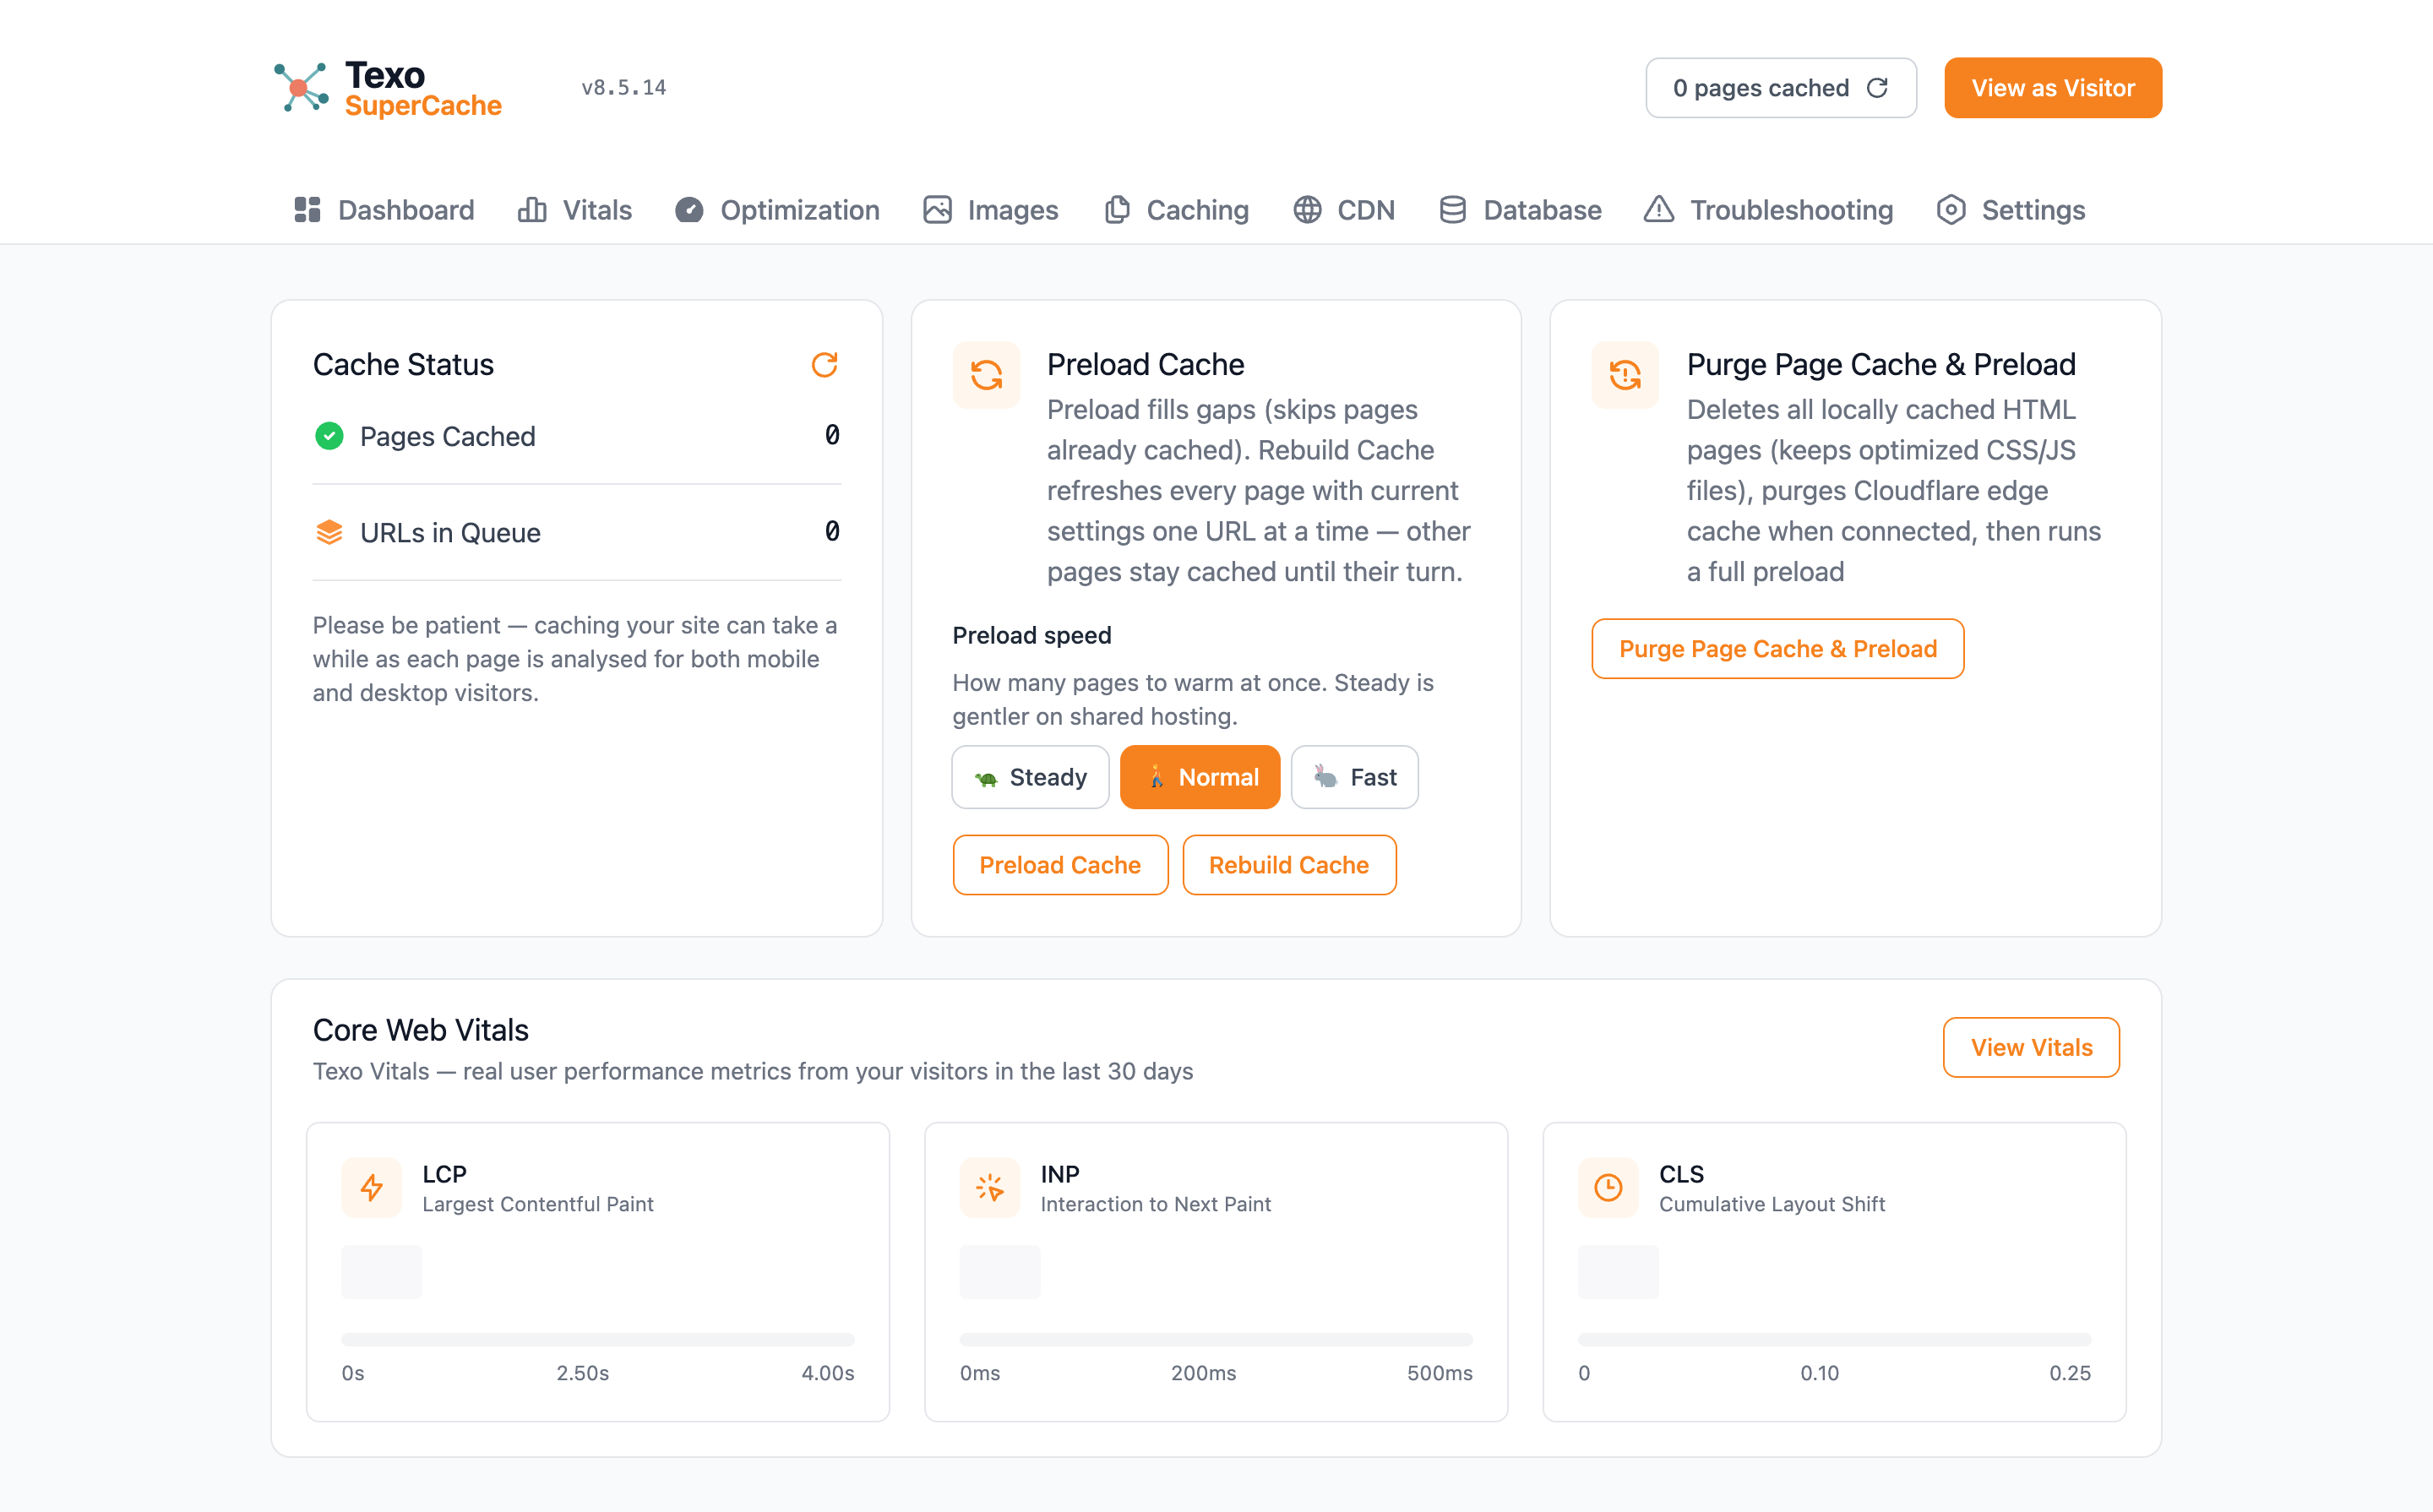
Dashboard Tab

Texo SuperCache Dashboard tab
Dashboard — cache status, Core Web Vitals, Purge & Preload, and plugin updates.

Cache Status

Shows the current state of the local cache:

  • Cached pages — how many optimised HTML files are stored on disk
  • Cache size — total disk space used
  • Last preloaded — when the most recent preload completed

Core Web Vitals

Displays your site’s real-world performance metrics collected from actual visitors:

  • LCP (Largest Contentful Paint) — how long until the main content appears. Target: under 2.5 seconds.
  • CLS (Cumulative Layout Shift) — how much the page jumps around while loading. Target: under 0.1.
  • INP (Interaction to Next Paint) — how quickly the page responds to clicks and taps. Target: under 200ms.
  • FID (First Input Delay) — how fast the first interaction is processed. Target: under 100ms.
  • FCP (First Contentful Paint) — when the first content appears on screen. Target: under 1.8 seconds.
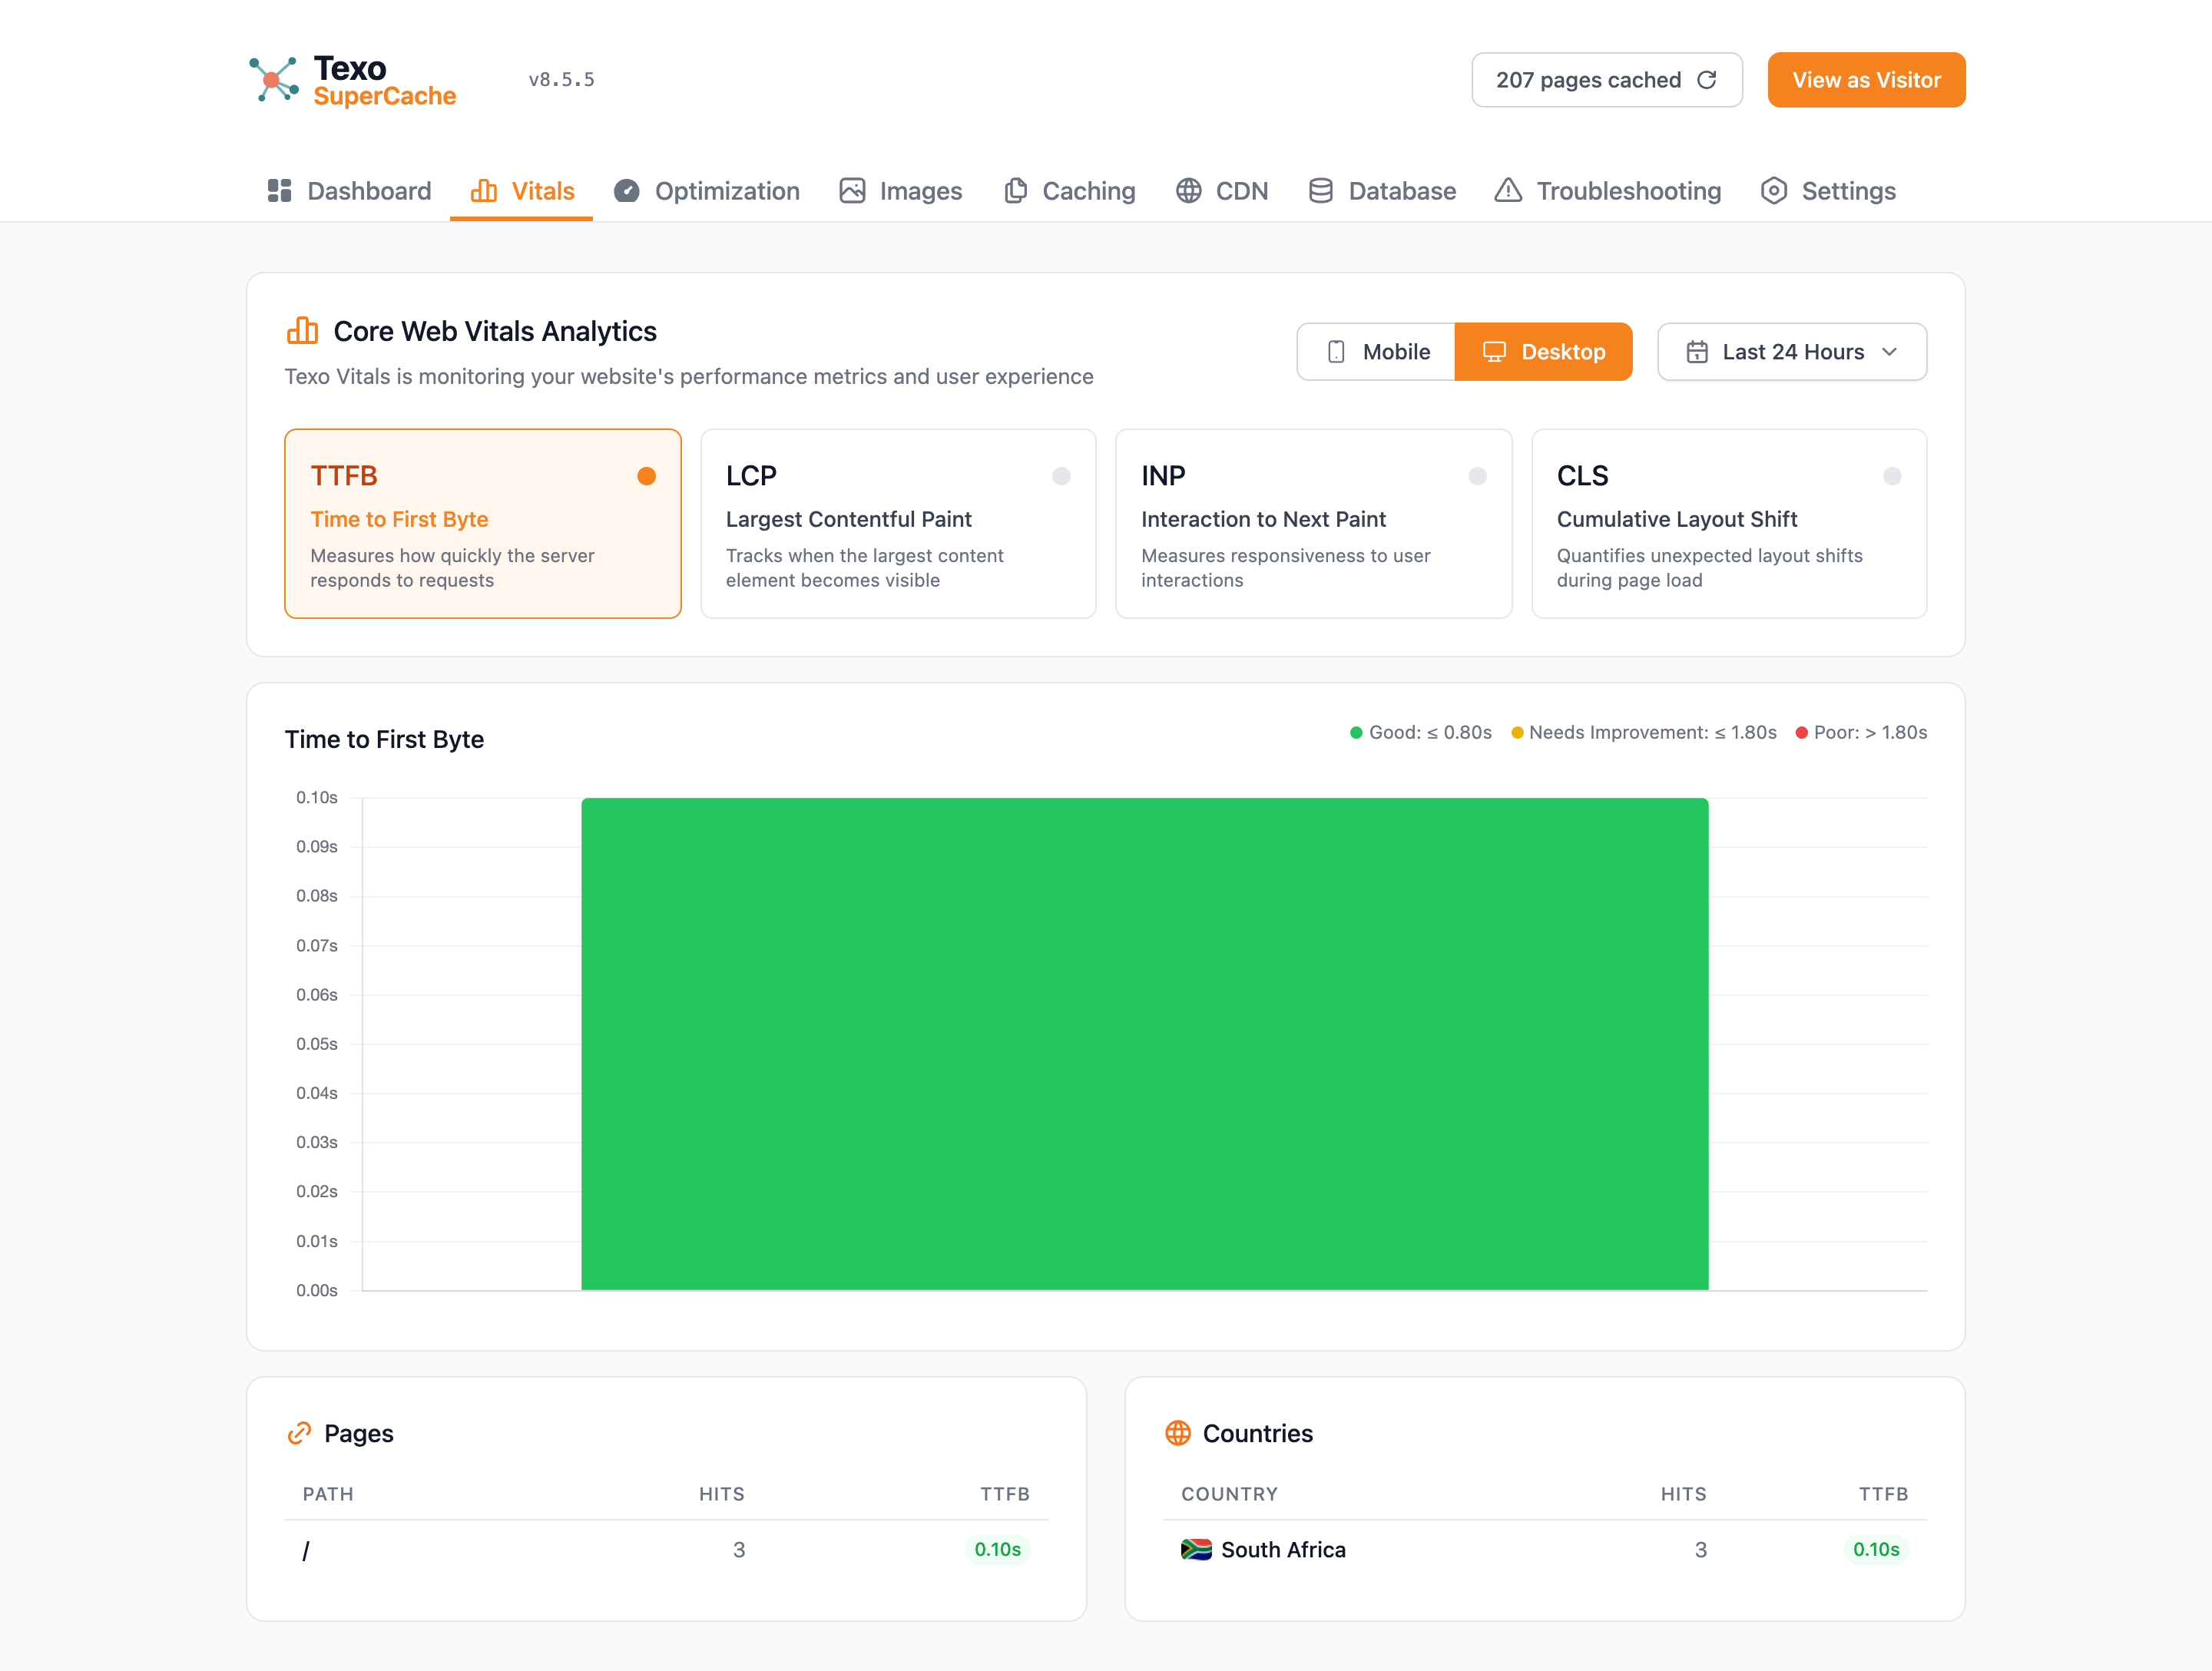
  • TTFB (Time to First Byte) — server response speed. Target: under 800ms.

Each metric is shown with a traffic-light colour: green (good), orange (needs improvement), red (poor). The data comes from your real visitors, so it reflects actual user experience rather than a synthetic test.

Preload Cache

Fills in any gaps in the cache. If a page already has a cached file, it is left completely untouched. Only pages that are missing from the cache are visited and optimised.

Use this when: You want to cache any newly-published pages or pages that were missed, without disturbing the rest of the cache.

Purge & Preload

Deletes every cached file on disk, then rebuilds the entire cache from scratch. Every page gets re-optimised: new critical CSS, new lazy-load targets, new font preloads, everything.

Use this when: You have made a significant design change, updated your theme, changed plugin settings, or want a guaranteed clean rebuild. Expect some pages to be temporarily slower for visitors during the rebuild — they will be served unoptimised HTML until the preload runner reaches each page.

After a Purge & Preload completes, Cloudflare’s edge cache is also automatically purged so it fetches the fresh, optimised versions of your pages.

Plugin Updates

Shows your current version and lets you check for available updates. Click Check for Updates to contact the update server. If a newer version is available, an Install Update button appears — clicking it installs the update silently in the background without leaving the plugin page.

Updates can also be installed from the standard WordPress Plugins page — when an update is available, Texo SuperCache appears there with an update notice like any other plugin, and the page reloads automatically once the update completes.

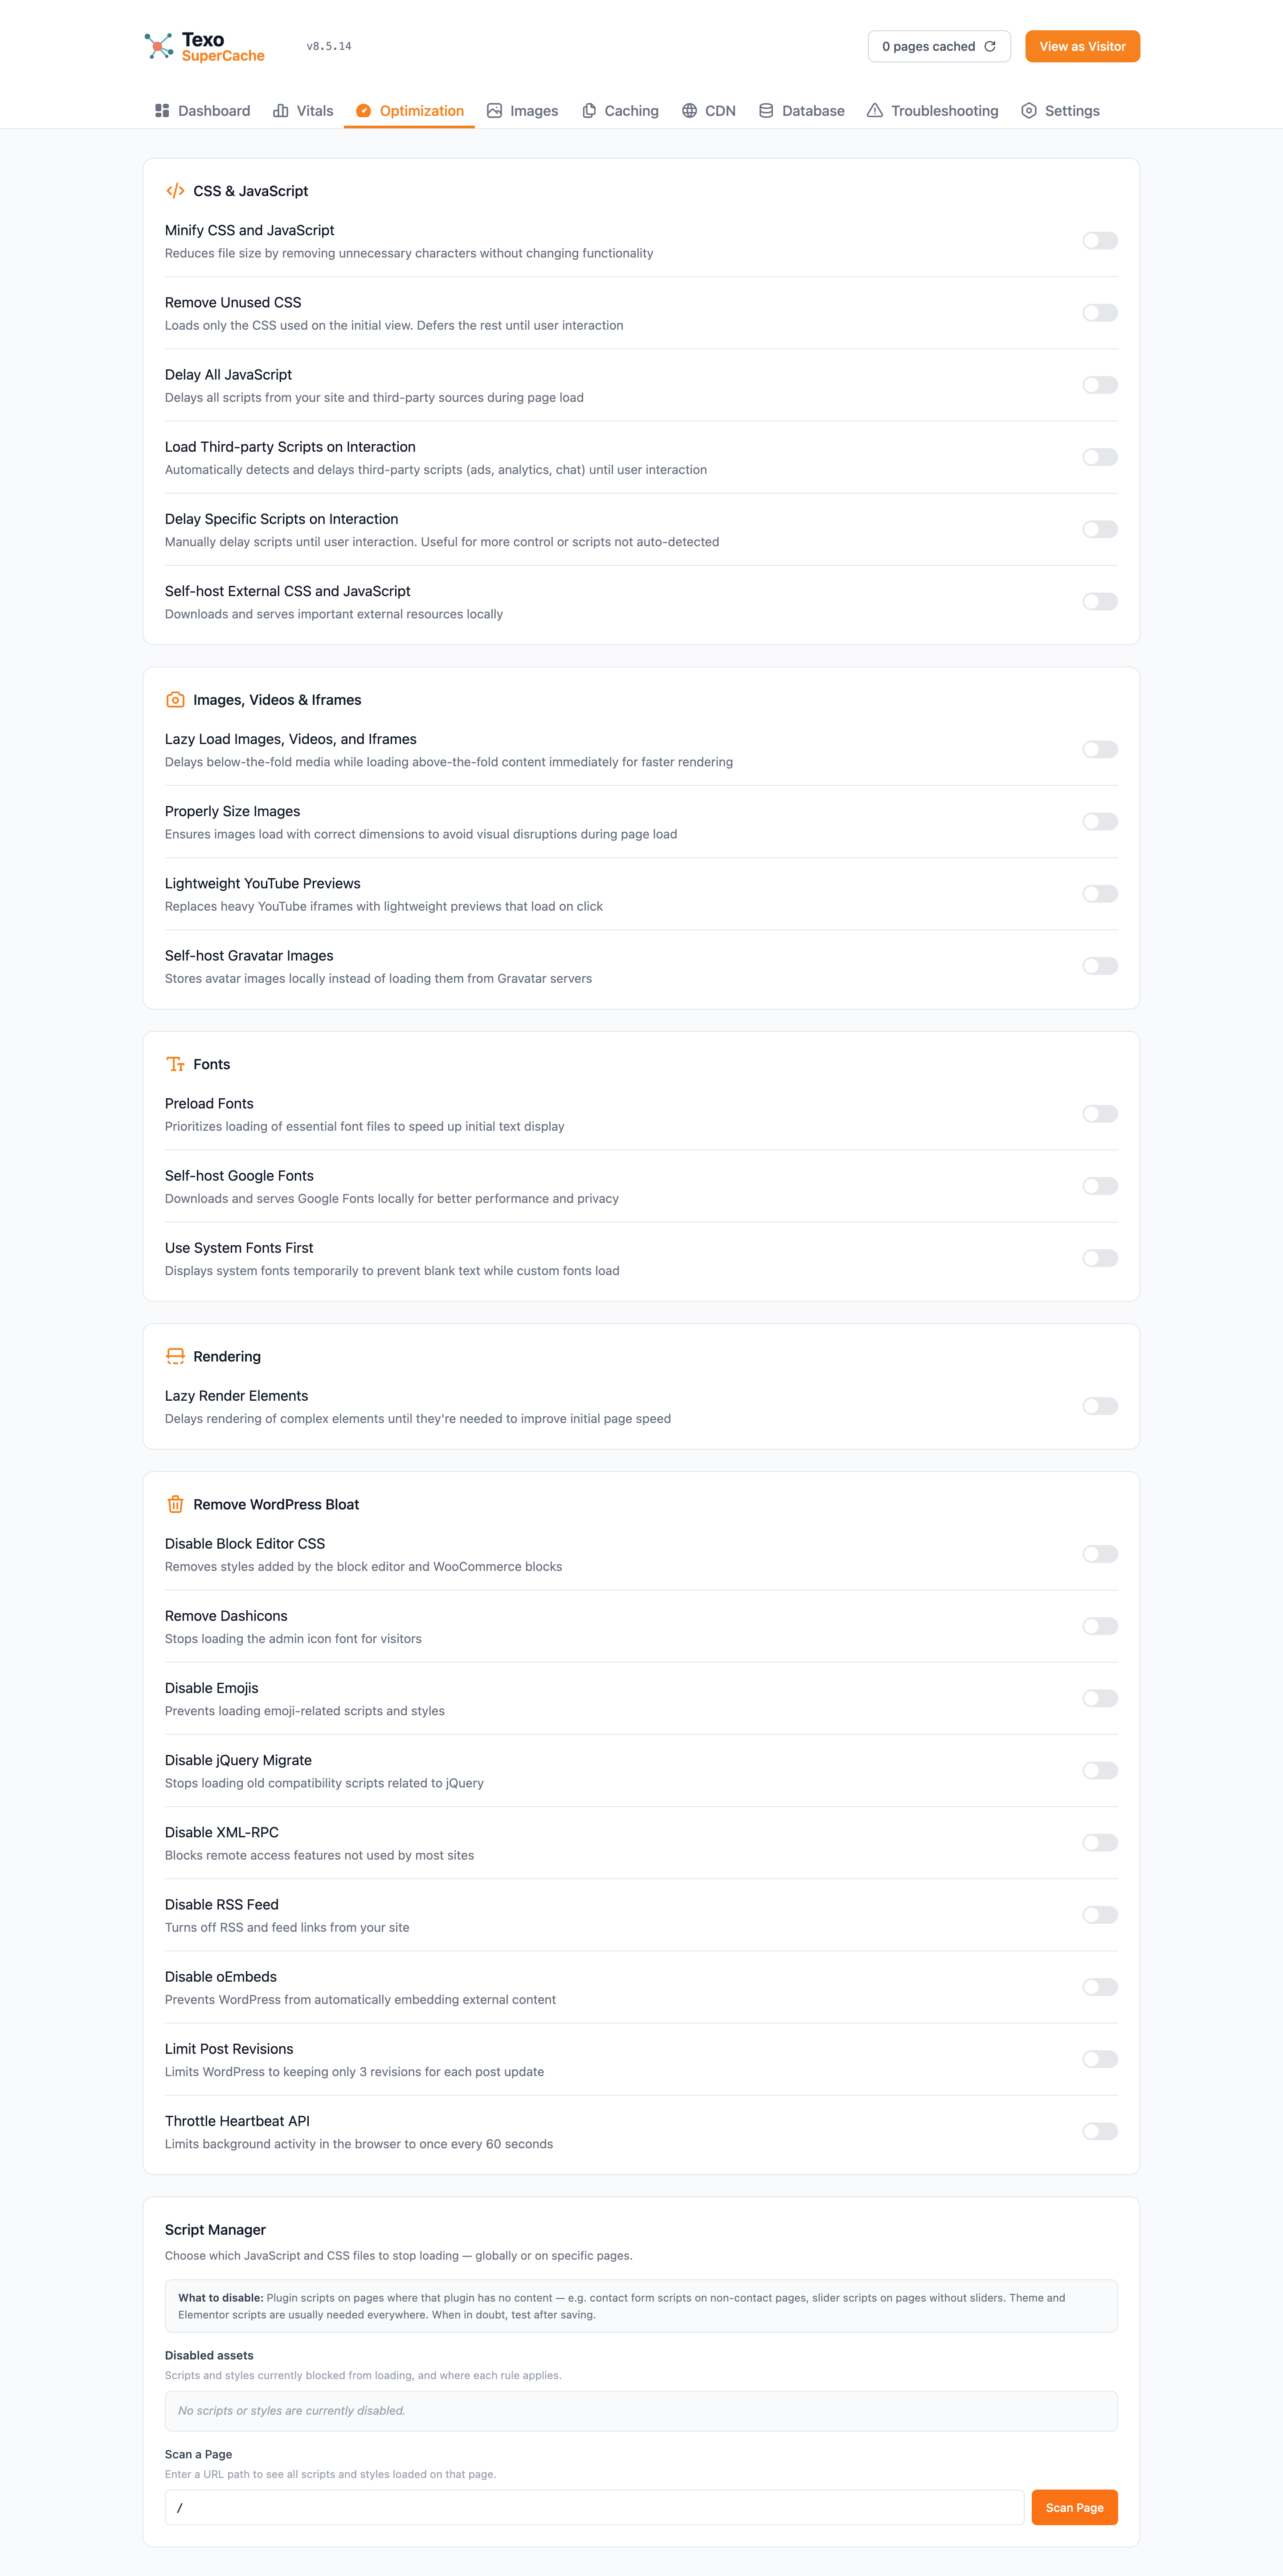
Optimization Tab

Texo SuperCache Optimization tab
Optimization — CSS/JS, images, fonts, WooCommerce options, and Script Manager.

CSS & JavaScript

Removes whitespace, comments, and redundant characters from CSS and JavaScript files. Makes files smaller so they download faster.

Recommendation: Leave on. Has no visible effect on your site’s appearance.

This is the most powerful — and most complex — optimisation. When enabled, each page is analysed by a headless browser on Texo’s server to determine exactly which CSS rules are actually used on that page. Only those rules are included in the page’s <head> as inline CSS. All your stylesheets are deferred to load after the page renders.

The result: pages appear styled instantly with a tiny critical CSS file, and the full stylesheet loads afterwards without blocking rendering.

Note: Because this requires a headless browser session on the server for each page, it adds a few seconds to the preload time per page. If your site has many hundreds of pages, a full preload will take longer with this enabled.

Recommendation: Enable for most sites. If you are seeing layout issues (elements looking unstyled briefly), you can add CSS selector patterns to the Include Selectors field to force specific rules to always be included.

Prevents JavaScript from executing until the visitor interacts with the page (moves the mouse, taps the screen, or presses a key). This dramatically reduces the Total Blocking Time (TBT) score — one of the biggest contributors to a poor PageSpeed score.

Two modes are available:

  • Defer loading — Scripts are given the defer attribute and execute after the HTML is parsed. Faster than the default but does not wait for user interaction.
  • Load after interaction — Scripts are held completely until the first user interaction. Maximum TBT reduction, but any functionality that needs to run immediately (such as cookie banners or chat widgets) may appear delayed.

Recommendation: Start with Defer loading. If PageSpeed TBT is still high, try Load after interaction and test that your key page functions still work.

A text field where you can list scripts that should never be delayed — paste a keyword from the script’s filename or URL, one per line. Useful for scripts that must run immediately (payment gateways, booking widgets, critical tracking).

Applies the same delay logic to scripts loaded from external domains (Google Analytics, Facebook Pixel, etc.). Tick this if you want third-party scripts delayed as well.

Downloads CSS and JavaScript files from external CDNs (jsDelivr, cdnjs, unpkg, etc.) and serves them from your own server. Eliminates the DNS lookup and connection overhead for those external domains.

Recommendation: Leave on.

Images, Video & iFrames

Images below the visible area of the screen are not downloaded until the visitor scrolls towards them. Dramatically reduces initial page load time on image-heavy pages.

Recommendation: Leave on.

Paste keywords (filenames, URL fragments, or CSS class names) to prevent specific images from being lazy-loaded. The hero image on your homepage is often a good candidate to exclude, as it is always visible immediately.

Automatically adds width and height attributes to images that are missing them. This prevents layout shift (CLS) caused by the browser not knowing how much space to reserve for an image before it loads.

Recommendation: Leave on.

Replaces embedded YouTube videos with a static thumbnail image. The actual video player only loads when the visitor clicks the thumbnail. YouTube’s player is one of the heaviest third-party resources — this single optimisation often saves 500ms or more.

Recommendation: Leave on. The placeholder looks identical to the real player.

Downloads visitor comment avatars (Gravatars) from Gravatar’s servers and caches them locally. Eliminates external requests and the privacy implications of loading resources from Gravatar.

Recommendation: Leave on if you have comments enabled.

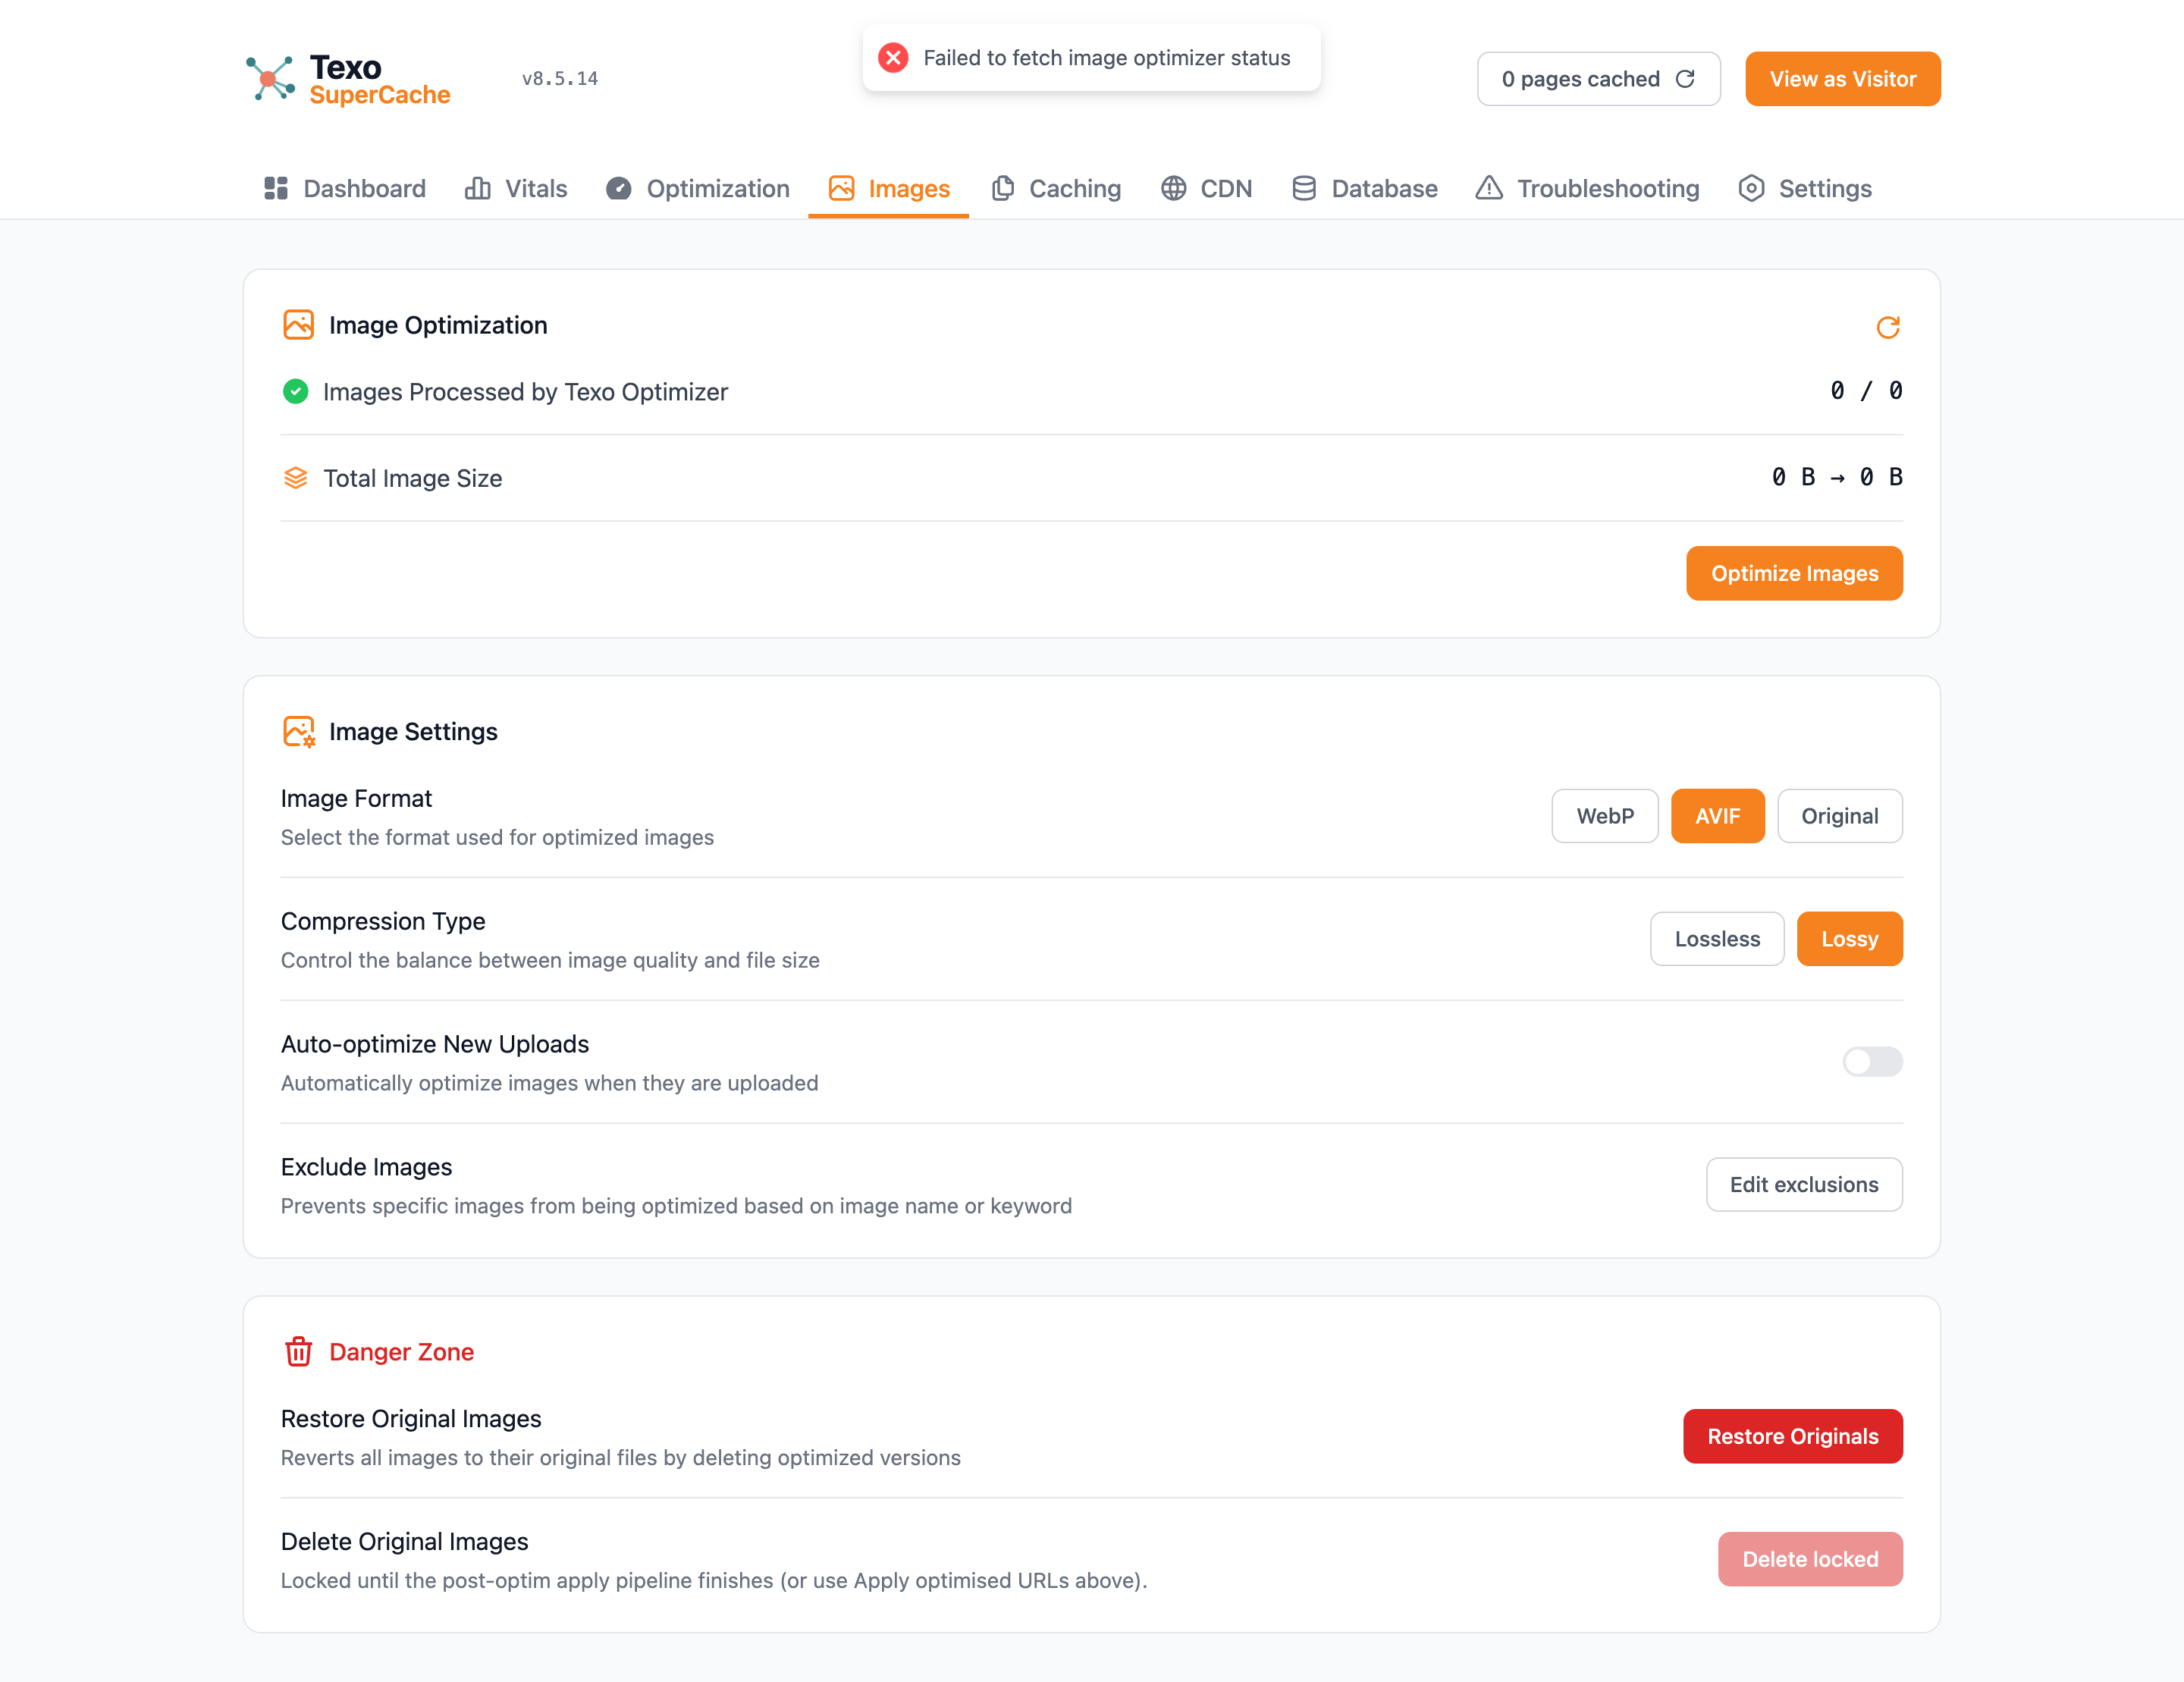
Converts uploaded images to a modern format when they are optimised:

  • AVIF — smallest file size, best quality, supported by all modern browsers
  • WebP — slightly larger than AVIF but with broader legacy browser support
  • None — keep original format (JPEG, PNG, etc.)

When enabled, images are automatically converted to the selected format as soon as they are uploaded to the media library. When disabled, you trigger optimisation manually from the Image Optimizer section.

Filenames or URL patterns for images that should not be converted or compressed.

Fonts

Adds <link rel="preload"> tags in the page <head> for the fonts used above the fold. This tells the browser to start downloading your fonts immediately — before it even parses the CSS — which eliminates the flash of unstyled text (FOUT).

Recommendation: Leave on.

Downloads Google Fonts CSS and the font files themselves to your own server, then serves them locally. Eliminates two external requests (one to fonts.googleapis.com, one to fonts.gstatic.com) and removes the GDPR concern of sending visitor IPs to Google.

Recommendation: Leave on.

Adds font-display: swap to all @font-face declarations. This tells the browser to show text in a fallback font immediately while the custom font loads, rather than showing invisible text. Directly improves FCP and CLS scores.

Recommendation: Leave on.

Rendering

Applies content-visibility: auto to page sections that are below the fold (not visible on first load). This tells the browser to skip rendering those sections until the visitor scrolls to them, significantly reducing the initial rendering workload.

Only applies to <section> block elements — the standard layout container in Elementor, Bricks, and most page builders.

Recommendation: Leave on.

Paste keywords to prevent specific sections from having lazy rendering applied. Useful if a particular section causes layout issues with this setting enabled.

Reduce Page Bloat

A set of individual toggles to disable WordPress features that most sites do not need and which add unnecessary weight to every page.

Disable WooCommerce cart fragments (WooCommerce sites only)

When WooCommerce is active, an additional toggle appears at the bottom of the Remove WordPress Bloat card.

WooCommerce loads wc-cart-fragments.js on every page by default. That script polls your server via AJAX to keep the mini-cart widget up to date — even on blog posts, about pages, and other pages where no cart is shown. Disabling it on non-store pages is one of the biggest easy wins on WooCommerce sites.

When Disable WooCommerce cart fragments is enabled:

  • The script is removed on pages that are not the shop, cart, checkout, or a single product page
  • The script stays active on those four page types so the cart still updates correctly where it matters

Default: Off — enable it after confirming your site does not need live cart updates on non-store pages.

Header mini-cart caveat: If your theme shows a live cart count in the site header on every page (including blog posts), leave this off, or ask your developer to use the texo_supercache_woo_keep_cart_fragments filter to keep fragments on specific pages.

Non-WooCommerce sites: The toggle does not appear and has no effect.

WooCommerce Optimization

When WooCommerce is active, a dedicated WooCommerce Optimization card appears on the Optimization tab (between Remove WordPress Bloat and Script Manager). It complements the cart-fragments toggle above.

Disable WooCommerce assets on non-store pages

WooCommerce also loads frontend CSS and JavaScript on every page — stylesheets, the main woocommerce script, and (on WooCommerce 8.5+) order-attribution scripts (sourcebuster-js and wc-order-attribution) that track where orders came from.

When Disable WooCommerce assets on non-store pages is enabled:

  • CSS removed: woocommerce-general, woocommerce-layout, woocommerce-smallscreen
  • JS removed: woocommerce, sourcebuster-js, wc-order-attribution
  • Block assets: wc-blocks-* styles and scripts are also removed on non-store pages, but only when your cart and checkout pages use classic shortcodes — not WooCommerce blocks. If either cart or checkout is a block page, block library assets are left alone so block-based checkout keeps working.
  • Assets stay active on shop, cart, checkout, and single product pages

Default: Off — enable after confirming your site does not need WooCommerce scripts or styles on blog posts, landing pages, and other non-store URLs.

Recommended pairing: For the biggest performance win on WooCommerce sites, enable both this toggle and Disable WooCommerce cart fragments in Remove WordPress Bloat. Together they stop most WooCommerce overhead on non-store pages.

Header mini-cart caveat: If your theme shows a live cart or needs WooCommerce scripts site-wide, leave this off, or ask your developer to use the texo_supercache_woo_keep_nonstore_assets filter on the pages that need them.

Developer filters: texo_supercache_woo_keep_nonstore_assets (keep assets on the current request), texo_supercache_woo_site_uses_blocks (override block-cart/checkout detection), texo_supercache_woo_nonstore_asset_handles (customize which style/script handles are removed).

Script Manager

An advanced tool for identifying and disabling scripts that load on pages where they are not needed.

How to use:

  • Enter a URL from your site into the scan field and click Scan.
  • The tool lists every JavaScript and CSS file loaded on that page, by plugin/theme handle.
  • For each file, you can choose to disable it on This page only or All pages.
  • Scripts you have already disabled are listed with their current scope and a Change or Remove option.

Common use: Disabling contact form scripts on pages that have no form, or fine-tuning individual handles beyond the WooCommerce Optimization presets. For WooCommerce on non-store pages, try the WooCommerce Optimization card first — it is faster than disabling handles one by one.

Caching Tab

Texo SuperCache Caching tab
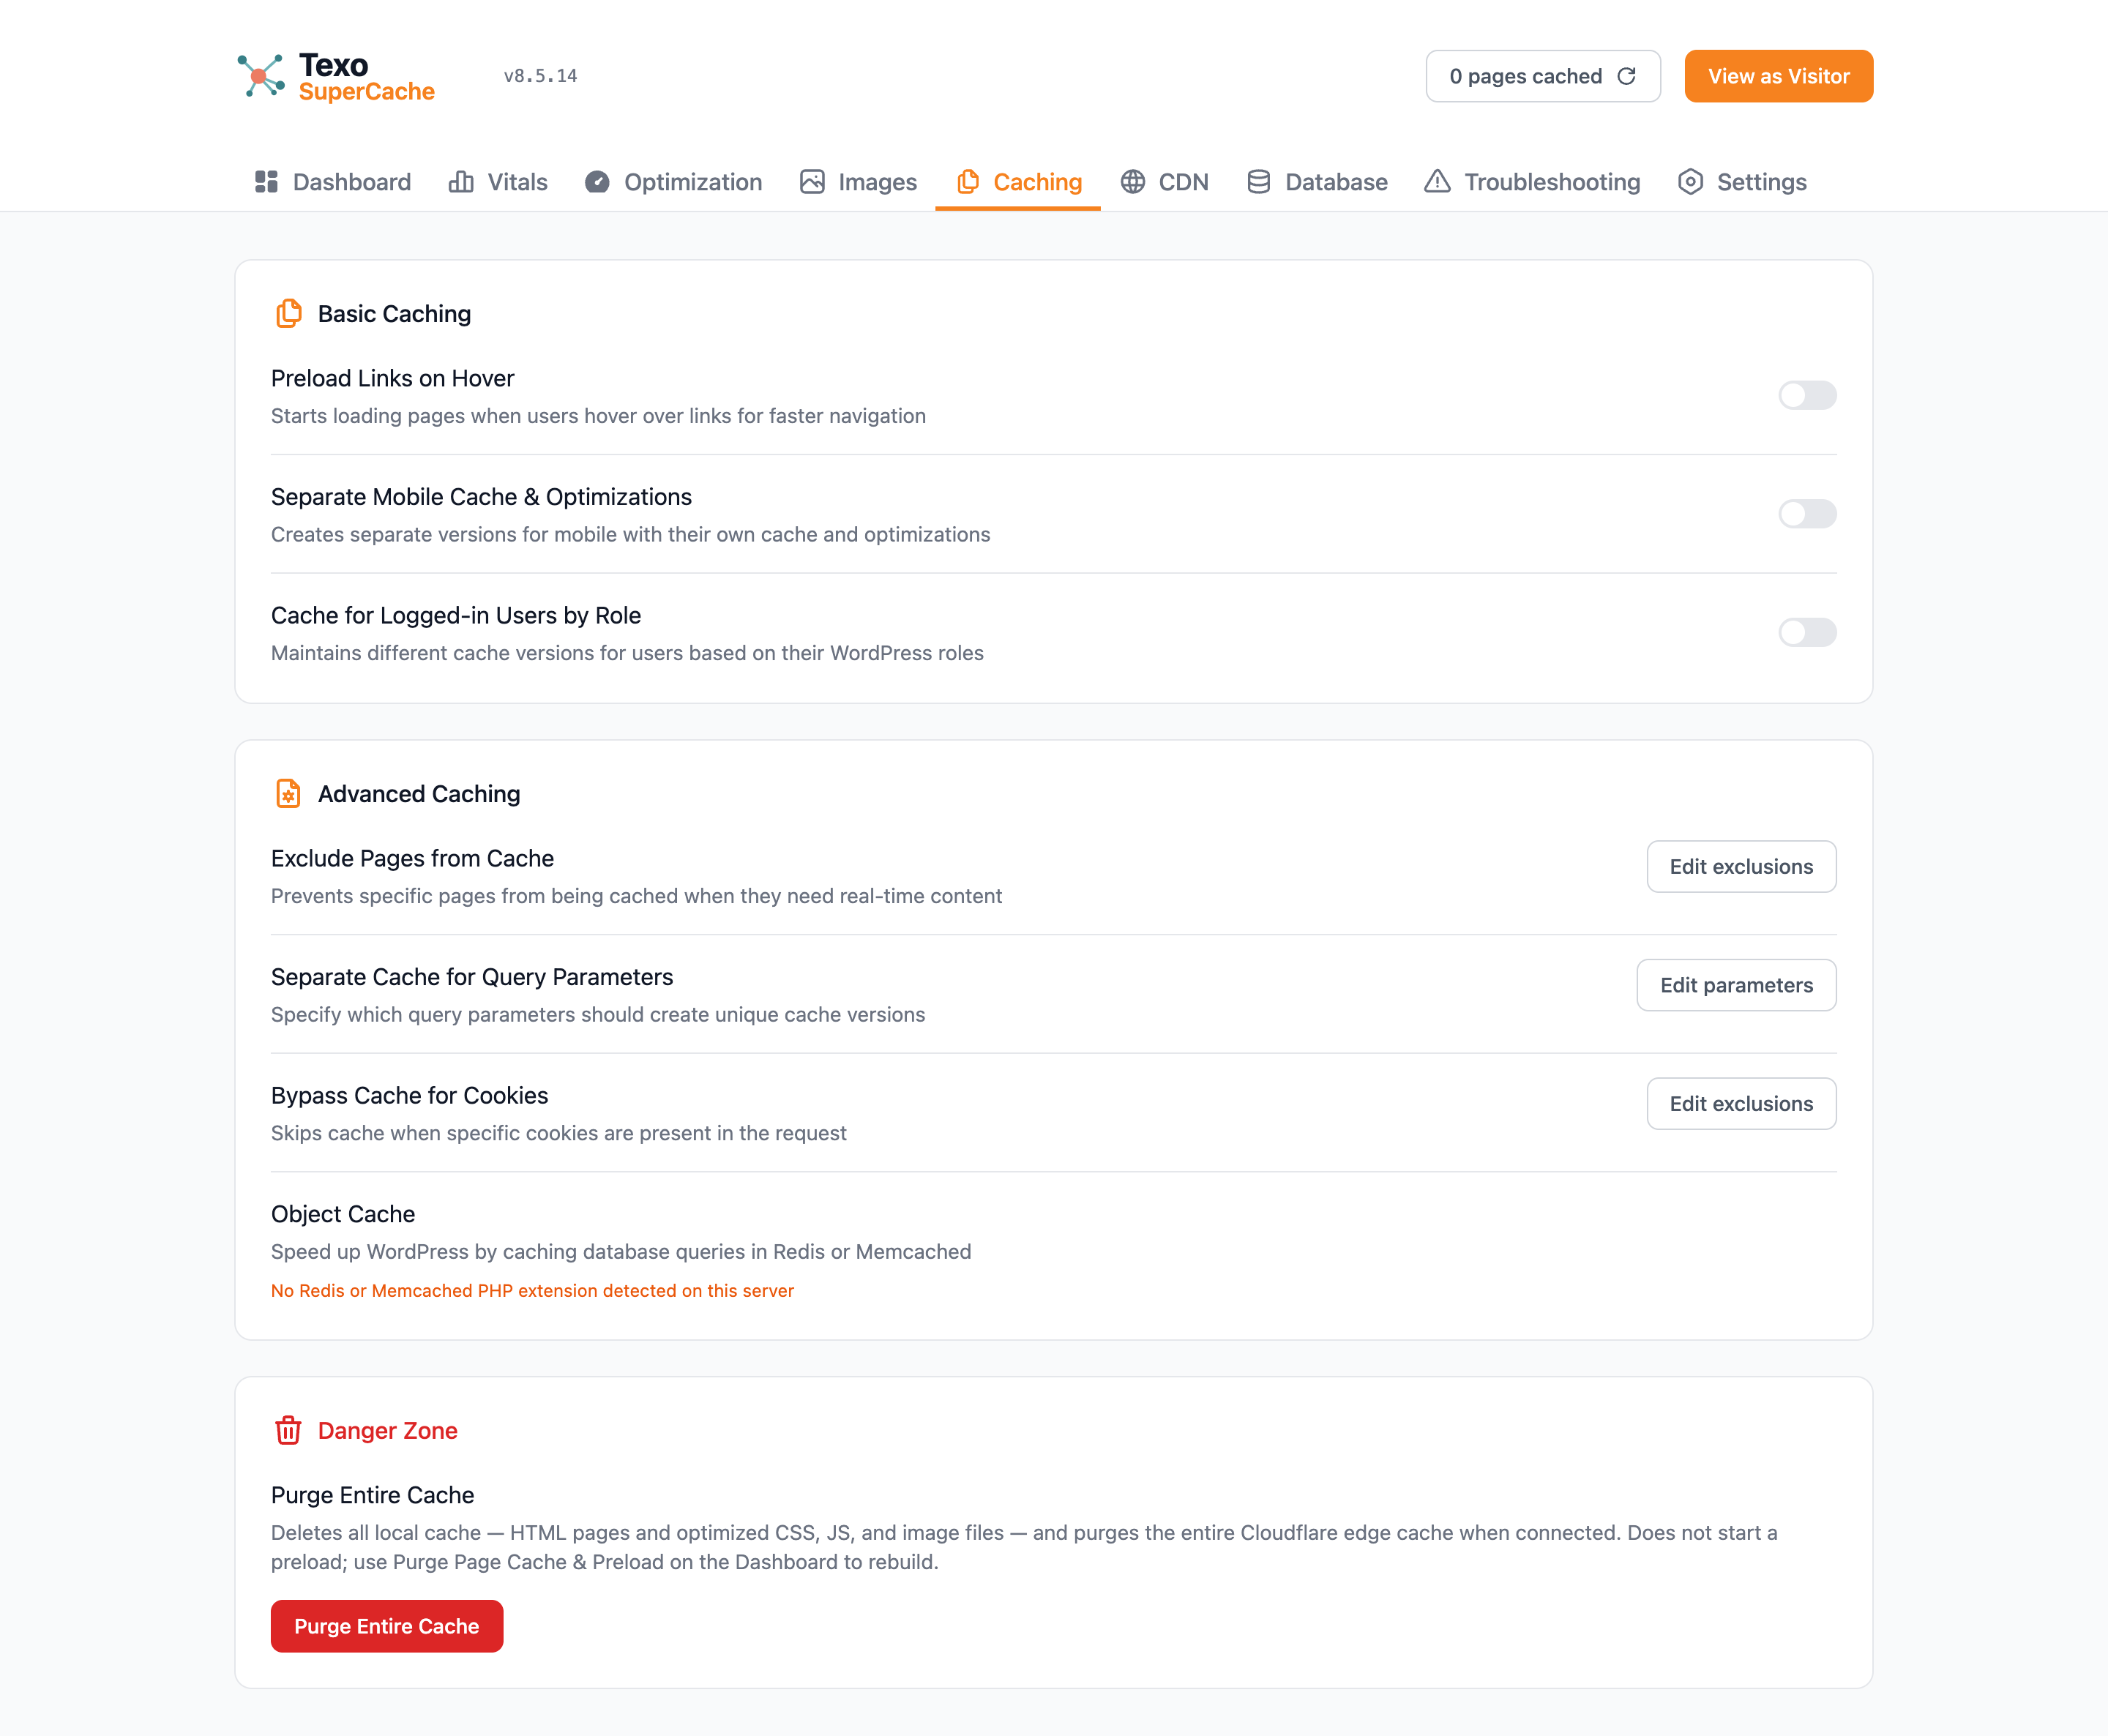
Caching — preload speed/scope, bypass rules, and Danger Zone purge.

Basic Caching

When a visitor hovers over a link, the plugin begins loading that page in the background. By the time they click, the page is already partially downloaded. Makes navigation feel instant.

Recommendation: Leave on.

Creates separate cache files for mobile visitors. Only needed if your site looks meaningfully different on mobile versus desktop. On most responsive sites, the same HTML works for both.

Recommendation: Off for most sites. Enable only if you serve a completely different layout to mobile visitors.

Creates cache files for logged-in visitors too. By default, logged-in users (members, customers) always see a fresh, uncached page to ensure their personalised content is current.

Recommendation: Off unless you have a membership site where logged-in pages are largely the same across users.

Automatically purges and rebuilds the entire cache on a schedule. Useful if your site’s content changes on a timer (e.g. a site that pulls in live data).

Recommendation: Off for most WordPress sites. Use Purge & Preload after making content changes instead.

How often the auto-refresh runs (if enabled). Options range from every hour to once a day.

Preload Speed

Higher speed = preload finishes faster, but uses more server CPU and memory simultaneously. If you notice the server slowing down or getting errors during preload, reduce the speed.

Preload Scope

Recommendation: Enable Posts, Pages, and Other Content Types for most sites. Enable taxonomy archives if you want those listing pages cached too. Author archives are usually low-traffic and can be left off.

Advanced Caching

URLs that should never be cached. Enter one per line. Supports wildcards — for example, /checkout/* will bypass all checkout pages.

Common candidates: checkout, cart, account, booking, payment pages.

By default, URLs with query strings (e.g. ?color=red) are not cached, because query strings usually indicate dynamic filtering. If you know certain query strings are safe to cache (e.g. ?ref=newsletter), list them here.

Cache is bypassed for visitors who have any of these cookies set. Enter cookie names, one per line. The plugin already handles the standard WooCommerce, login, and multi-currency cookies automatically.

Danger Zone — Purge Entire Cache

Deletes all cached files from disk immediately. Unlike Purge & Preload, this does not start a rebuild — your site will run on WordPress directly (slower) until the preload is run or visitors trigger page-by-page caching. Also purges Cloudflare’s edge cache if connected.

Use this only when: You need to clear everything instantly and will run the preload yourself straight after.

CDN Tab

Texo SuperCache CDN tab
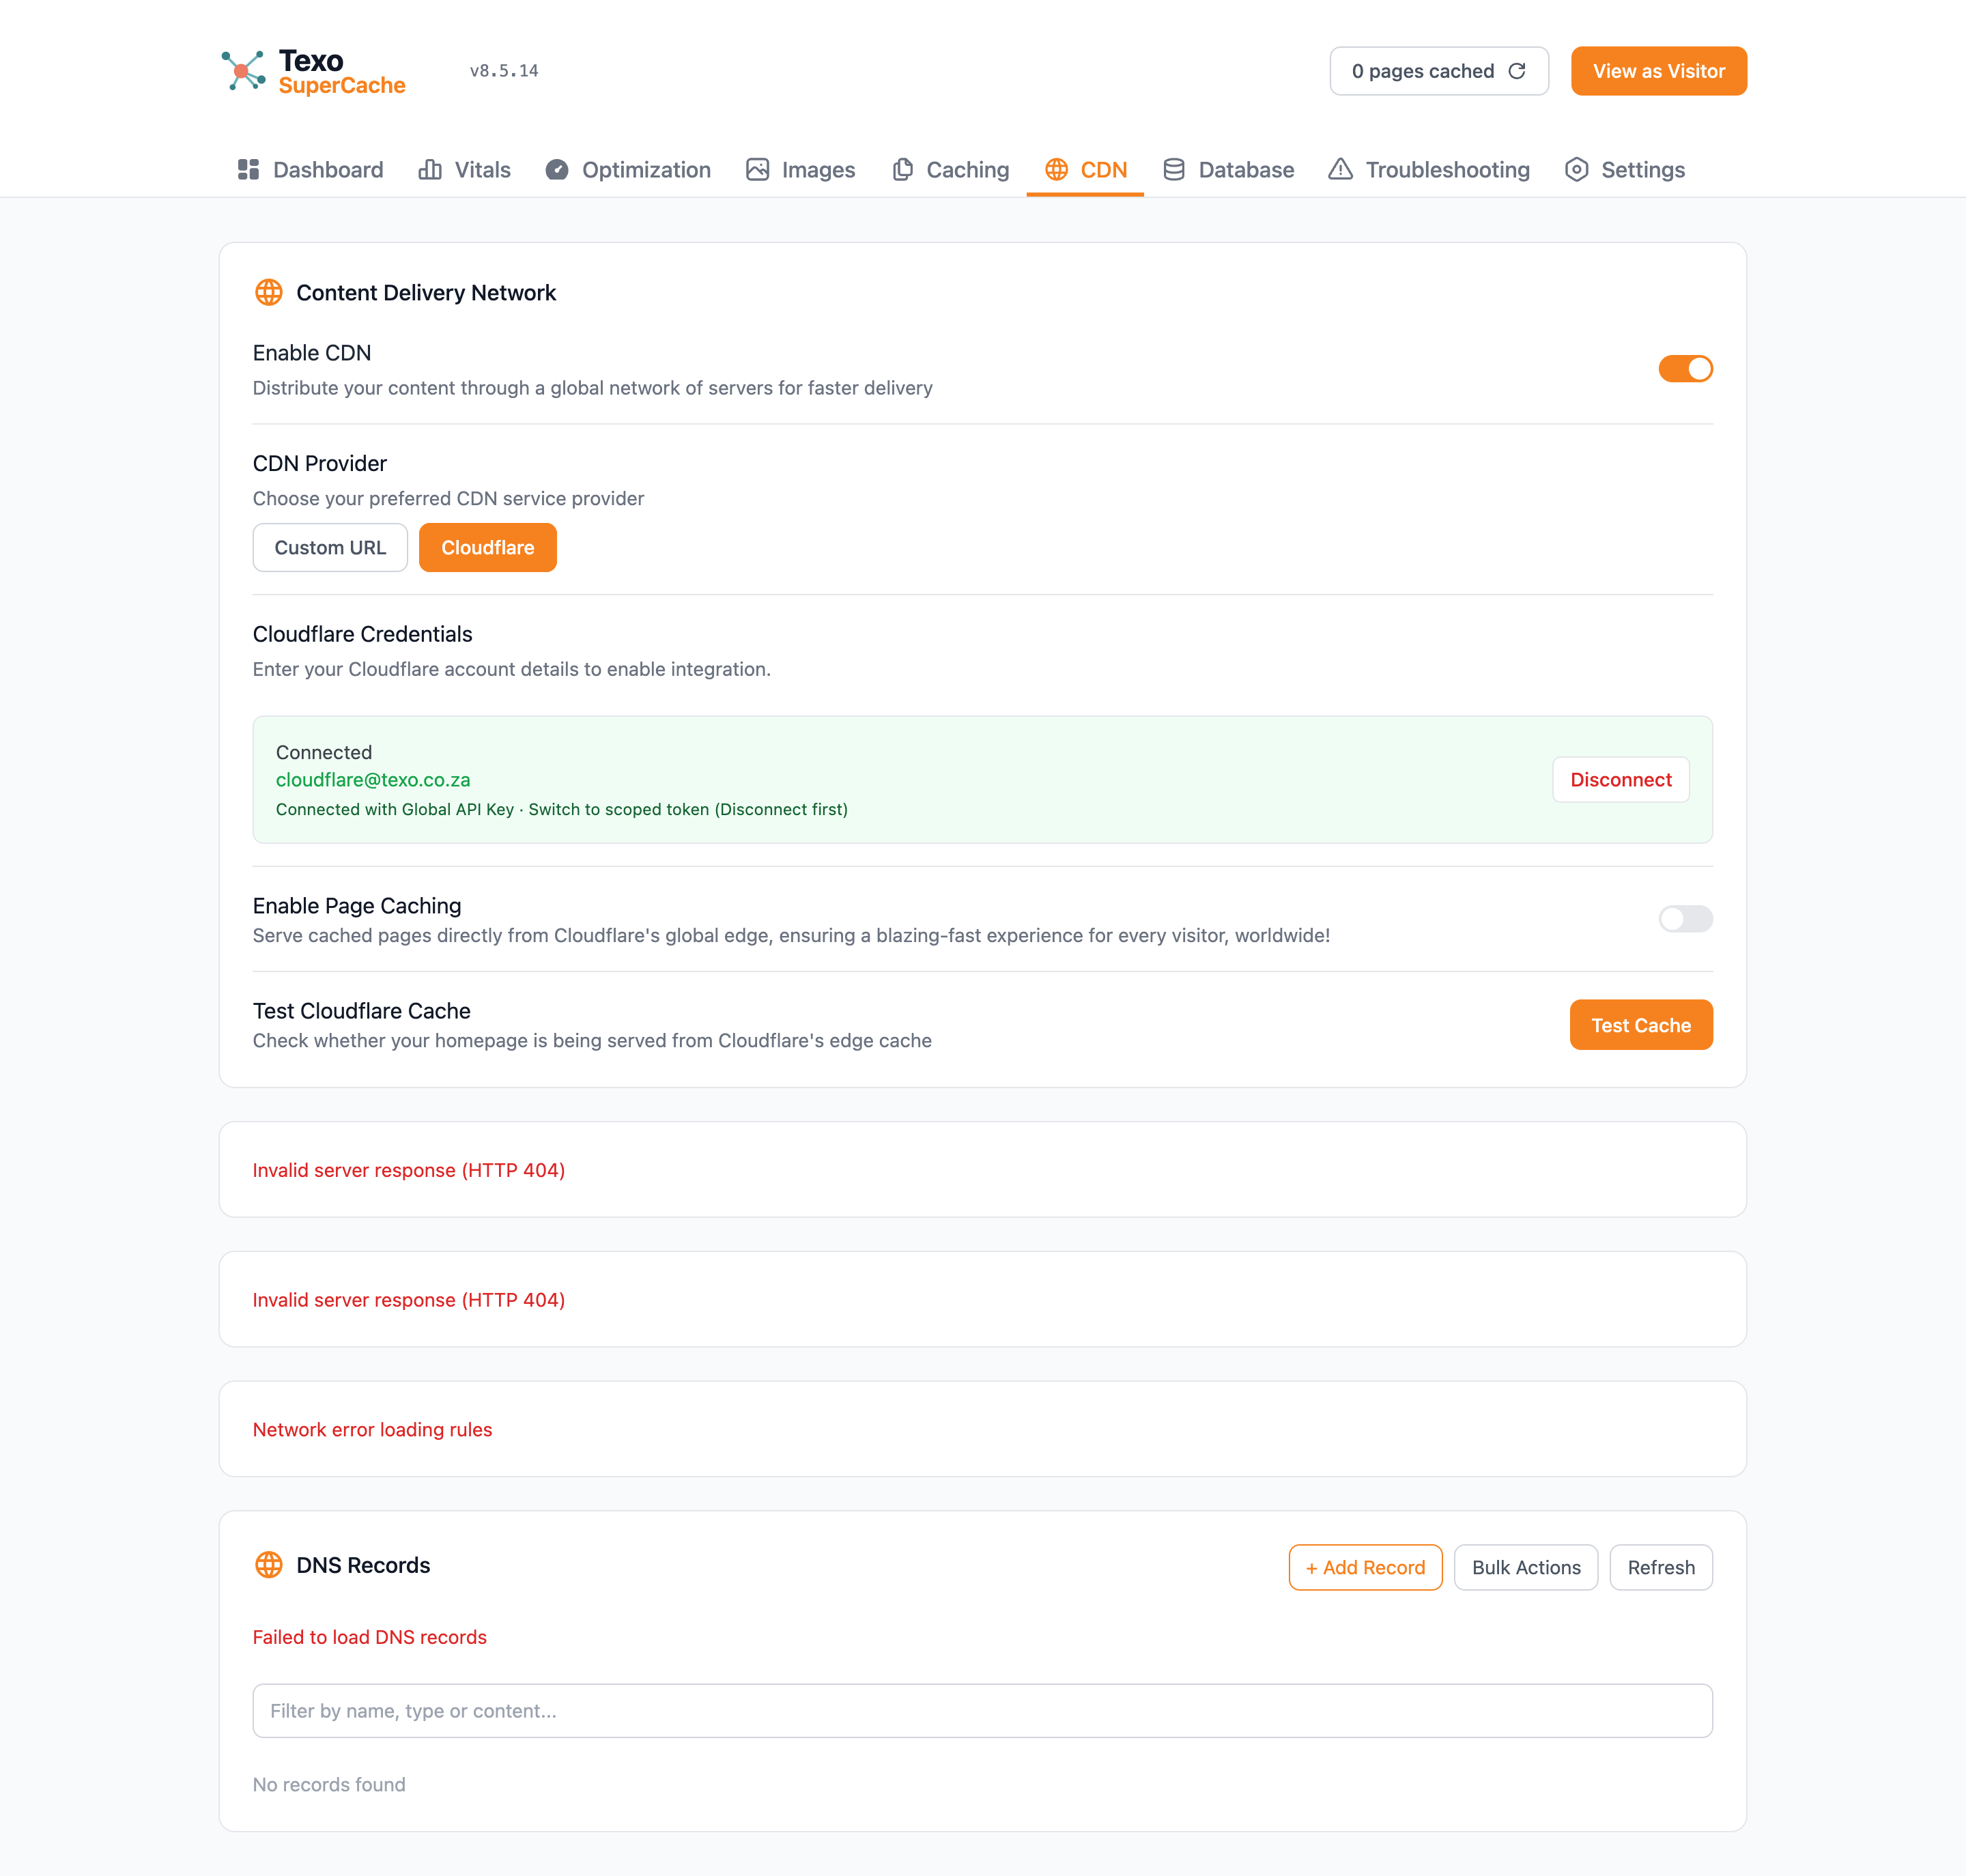
CDN — Cloudflare credentials, page caching, and Cloudflare tools.

Enable CDN

Master toggle for the CDN feature. When using Cloudflare as your CDN (the standard setup), leave this on so the plugin can communicate with Cloudflare’s API.

  • Cloudflare — recommended. Uses the Cloudflare account connected below.
  • Custom CDN — for other CDN providers. Enter the CDN URL manually.

Which types of files are rewritten to use the CDN URL. Default is all files. Narrow this if you only want specific file types served through the CDN.

Cloudflare Credentials

Connect your Cloudflare account. On a Texo-managed server, this is usually pre-filled automatically when the plugin is activated. If you need to reconnect:

  • API Key — your Cloudflare Global API Key or an API Token with Zone Cache Purge permissions
  • Email — the email address of your Cloudflare account
  • Zone ID — the ID of the specific Cloudflare zone (domain) to connect

Once connected, the panel turns green and shows your connected email. To disconnect, click Disconnect.

Enable Page Caching

Once Cloudflare is connected, this toggle activates Cloudflare’s edge page caching. Cloudflare deploys cache rules to your zone that cache your HTML pages at its global edge network (300+ data centres worldwide).

When a visitor loads a page:

  • Cloudflare checks if it has a cached copy at the nearest edge node
  • If yes — it serves it directly from that edge node (often under 10ms for the visitor)
  • If no — it passes the request to your server, your server serves the cached .html.gz file, Cloudflare caches that response for future visitors

Important: Enable this only after running a full Purge & Preload (see First-Time Setup above).

Cloudflare Tools

These controls appear once Cloudflare is connected. They let you manage your Cloudflare zone directly from the plugin without logging into the Cloudflare dashboard.

  • Under Attack Mode: Enables Cloudflare’s maximum security mode, which presents a JavaScript challenge to every visitor before allowing them through. Only enable this during an active DDoS attack. It will slow down all legitimate visitors significantly.
  • Development Mode: Temporarily bypasses Cloudflare’s cache for 3 hours so you can see live changes without needing to purge the cache. Use this when making design or content changes that you want to preview before they go live through Cloudflare.
  • Pause Cloudflare: Completely bypasses Cloudflare for your domain — all traffic goes directly to your server. Use this for major server maintenance or troubleshooting. Remember to unpause when done.
  • Caching Level: How aggressively Cloudflare caches query-string URLs: Aggressive — caches everything regardless of query strings
  • Basic — ignores query strings when determining what to cache
  • Simplified — caches only the bare URL, ignoring all query strings

Recommendation: Basic for most sites. Crawler Hints: Sends hints to search engine crawlers about when your content was last updated. Allows bots to crawl more efficiently. Safe to leave on. Purge Cache

  • Purge Cloudflare — purges Cloudflare’s edge cache for the entire site. The plugin does this automatically after a Purge & Preload.
  • Purge specific URLs — enter individual URLs to purge from Cloudflare’s edge cache without affecting the rest.

Security Tab

Manages Cloudflare firewall rules (WAF rules) and Bot Fight Mode. Requires Cloudflare to be connected on the CDN tab.

Bot Fight Mode

At the top of the Security tab. Cloudflare’s automated bot detection — it challenges bots that mimic human browsers. Safe to leave on for most sites. Not available on all Cloudflare plans; the tab shows Unavailable when your plan does not include it.

WAF slot meter

WAF slot meter on the Security tab
WAF slot meter — how many of Cloudflare’s 5 custom rule slots are in use.

Cloudflare’s Free plan allows 5 custom WAF rules in your zone. The slot meter shows how many slots are in use (for example, 4/5 WAF slots) and a breakdown such as 3 active, 1 disabled.

  • Active — the rule exists in Cloudflare and is turned on.
  • Disabled — the rule still exists in Cloudflare but is paused. It still uses a slot.
  • Not Deployed — the rule is only in the plugin; it has not been pushed to Cloudflare yet and does not use a slot.

To free a slot, use Remove from CF on a deployed rule. Disable only pauses the rule — it does not free the slot. When all 5 slots are full, Deploy is greyed out until you remove a rule from Cloudflare.

Each time you open the Security tab, the plugin syncs with Cloudflare so counts and statuses stay accurate. If you delete a rule in the Cloudflare dashboard, refresh the Security tab — the rule will show as Not Deployed again, and you can Deploy or Enable to recreate it.

Rule list order and colours

Rules in both Texo WAF Security Rules and Other Rules are sorted automatically:

  1. Active rules first (subtle green background)
  2. Disabled in Cloudflare next (subtle amber background)
  3. Not deployed last (subtle grey background)

Within each group, rules are listed alphabetically by name. The order updates whenever you reload the Security tab after deploying, enabling, disabling, or removing a rule.

Texo WAF Security Rules

Texo WAF Security Rules list
Texo rules sorted by status (Active, Disabled, Not deployed) with subtle card backgrounds.

Pre-configured rules maintained by Texo. These cannot be deleted from the plugin. You can edit their expression and action, but not their fixed descriptions.

Each rule card shows a status badge (Active, Disabled, or Not Deployed) and action buttons:

  • Deploy — pushes a not-yet-deployed rule to Cloudflare (uses one slot).
  • Enable / Disable — turns a deployed rule on or off without removing it.
  • Remove from CF — deletes the rule from Cloudflare and frees the slot. The rule remains in the plugin so you can deploy it again later.
  • Edit — change expression or action locally. If already deployed, save then disable and redeploy (or remove and deploy again) to push changes to Cloudflare.
  • Reset — restores that rule’s default expression and action from Texo.
  • Reset Texo Rules (section header) — resets all Texo rules at once.

Two rules worth knowing about:

  • Block Scanners — blocks automated vulnerability scanners that probe your site with SQL-injection and file-access attempts. Scoped to attack signatures only; admin, login, and API paths are excluded. Deploy it and leave it Active.
  • Allow Texo Optimizer — allows Texo’s optimisation server (172.233.56.167) through the firewall so Remove Unused CSS (RUCSS) analysis is not blocked. Marked REQUIRED when RUCSS is enabled; Optional when RUCSS is off.

Other Rules

Rules you created in the plugin (custom) plus any custom WAF rules already in your Cloudflare zone that the plugin discovers (Cloudflare). Custom rules can be edited and deleted; Cloudflare-origin rules can be edited, enabled/disabled, or removed from CF from here.

Click Add Rule at the bottom to create a new custom rule. Custom rules use the same Deploy / Enable / Disable / Remove from CF workflow as Texo rules and appear in the same status-based sort order.

Block by Country

For rules that filter by country, Countries or Pick Countries opens an inline country picker. Click country chips to add or remove them; the expression updates live. Save the rule locally, then deploy (or redeploy) to apply in Cloudflare.

DNS Tab

A full DNS record manager for your Cloudflare zone. Displays all DNS records with type, name, content, proxy toggle, edit, and delete options. Use the Add Record button to create new records.

Database Tab

Texo SuperCache Database tab
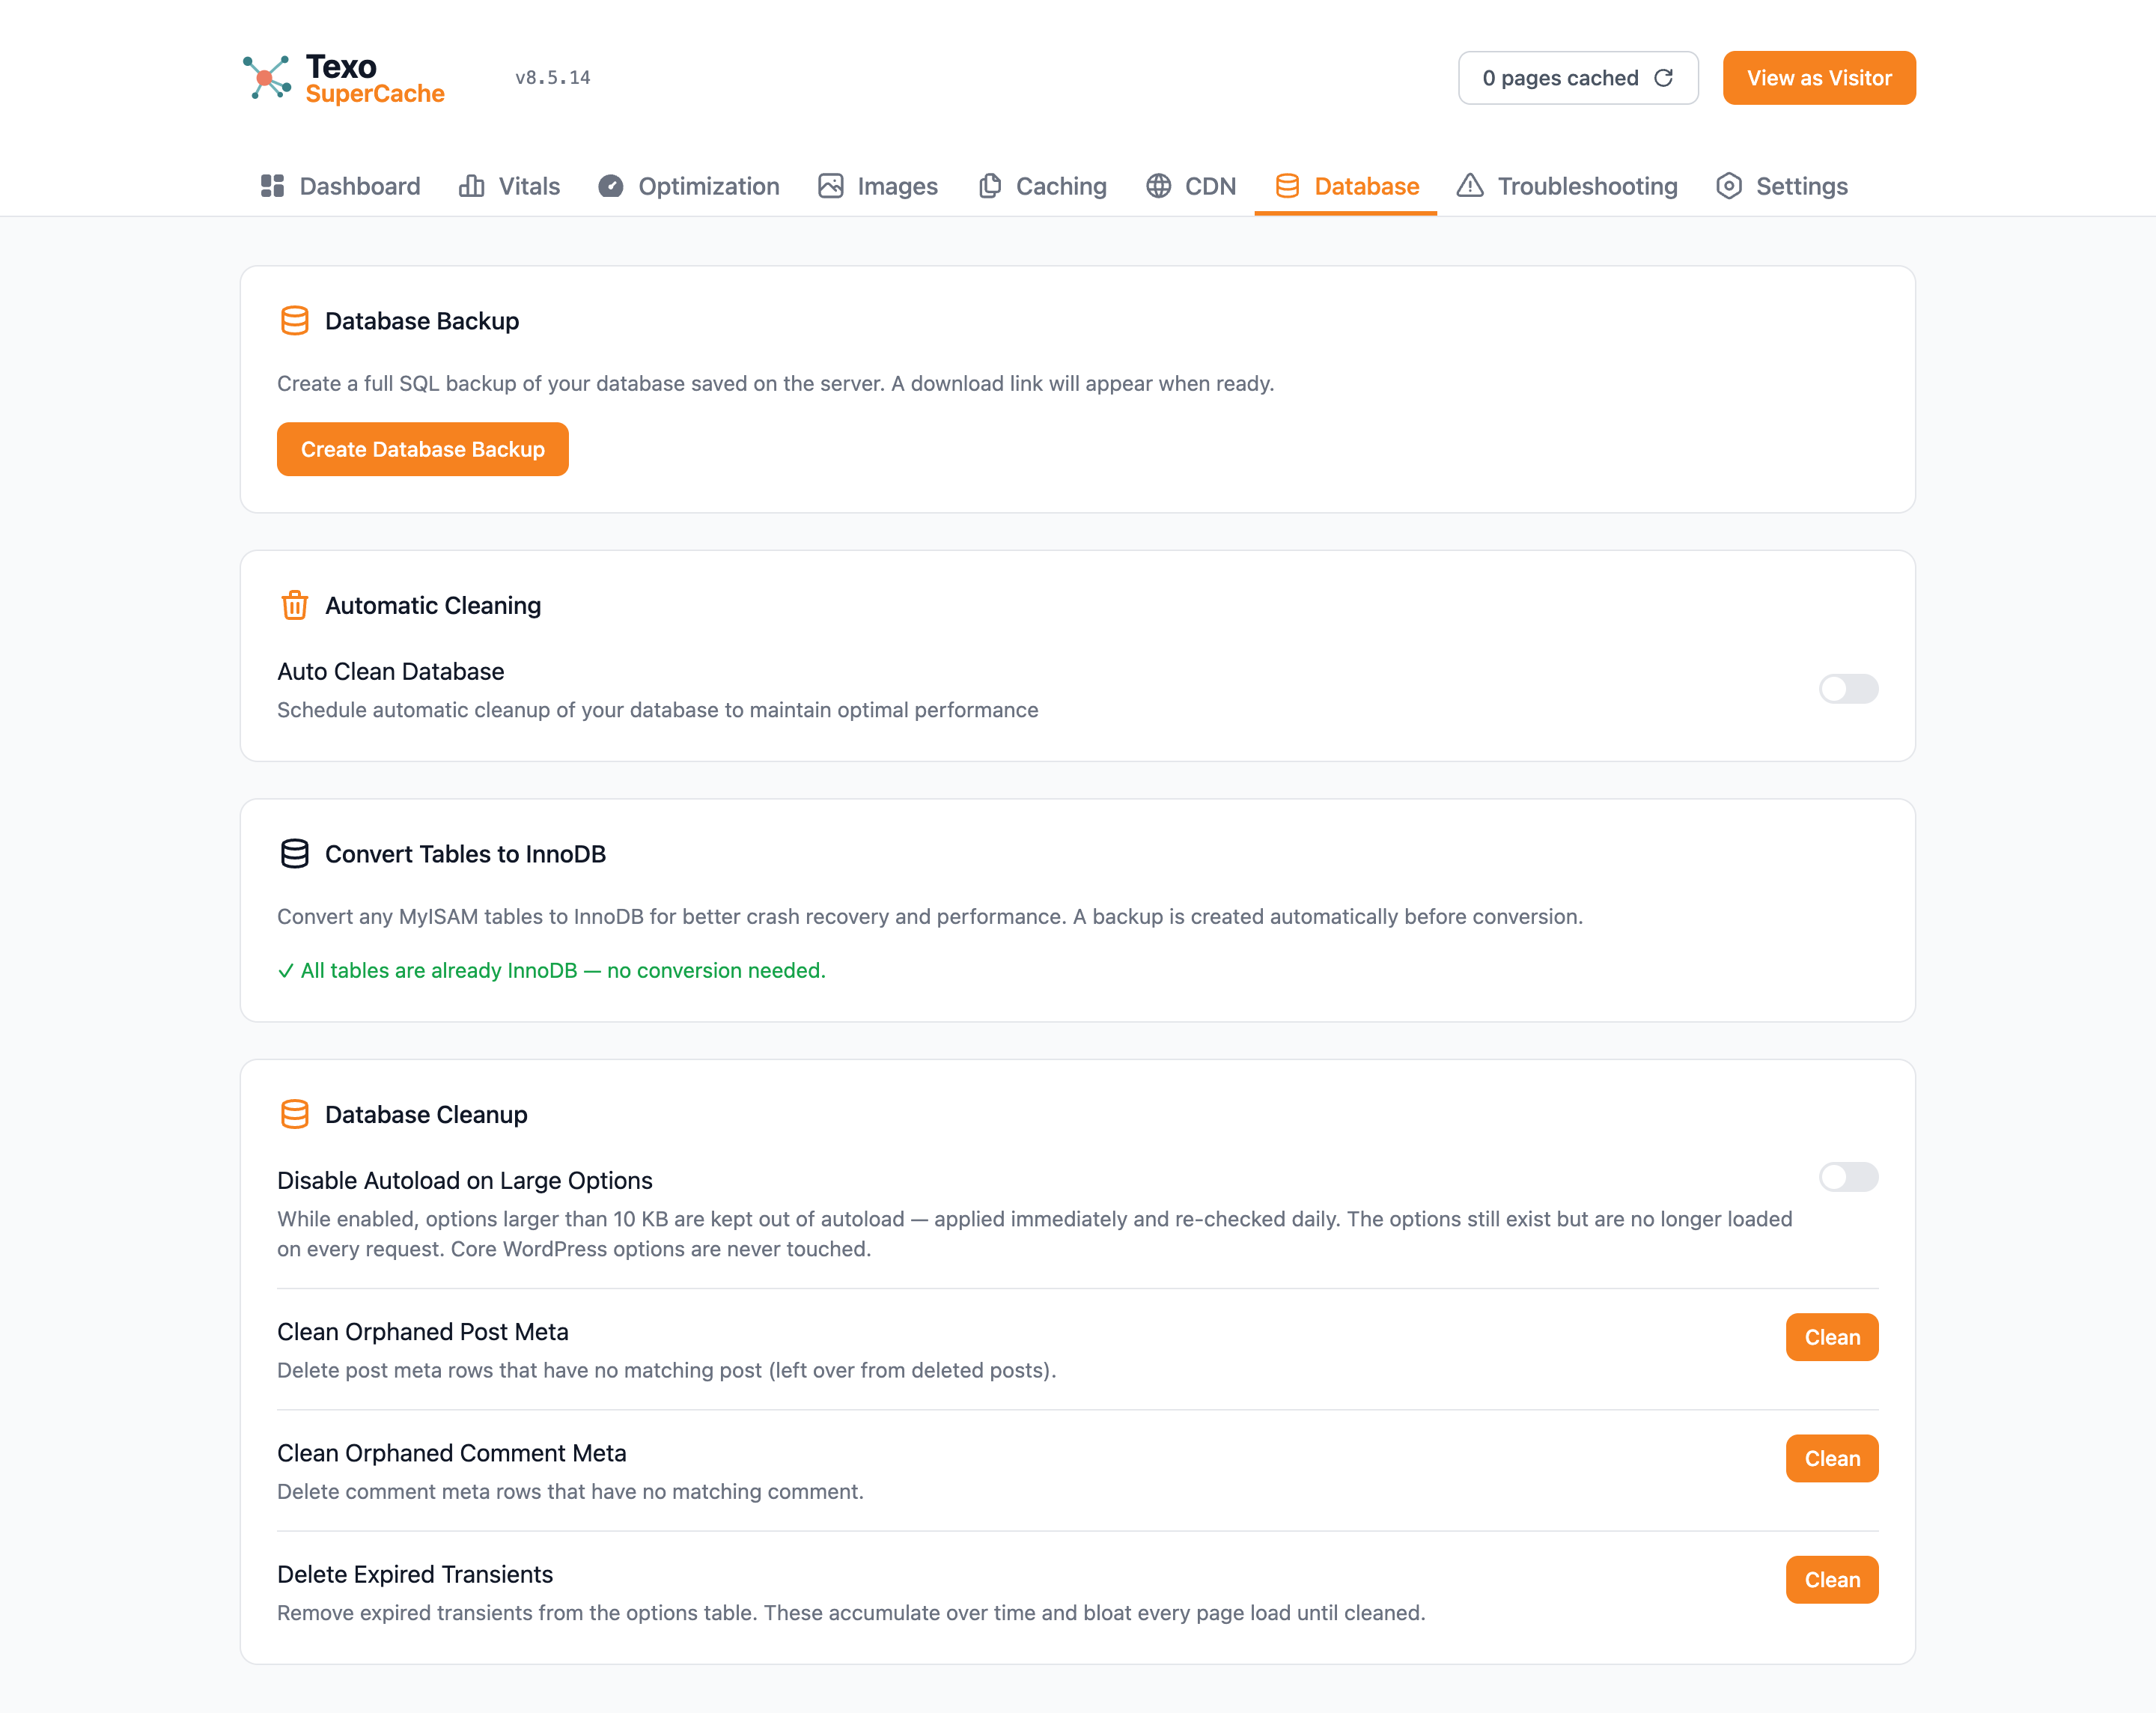
Database — backup, cleanup tools, and autoload diagnostics.

Database Backup

Creates a full SQL dump. Always backup before cleanup.

Convert MyISAM to InnoDB

Converts older tables to the faster InnoDB engine.

Automatic Cleaning

Schedule automatic cleanup of revisions, drafts, spam, transients, etc.

Manual Cleanup

One-click options for the same items plus orphaned meta.

Disable Autoload on Large Options

Enabled/Disabled toggle that prevents large options from loading on every request.

Autoload Diagnostics

Shows large autoloaded options with one-click disable buttons.

Settings Tab

Texo SuperCache Settings tab
Settings — vitals source, import/export, debug log, and cron recommendations.

Core Web Vitals Source

Choose between Texo Vitals or Cloudflare Web Analytics.

Import / Export Configuration

Backup and restore your plugin settings as JSON.

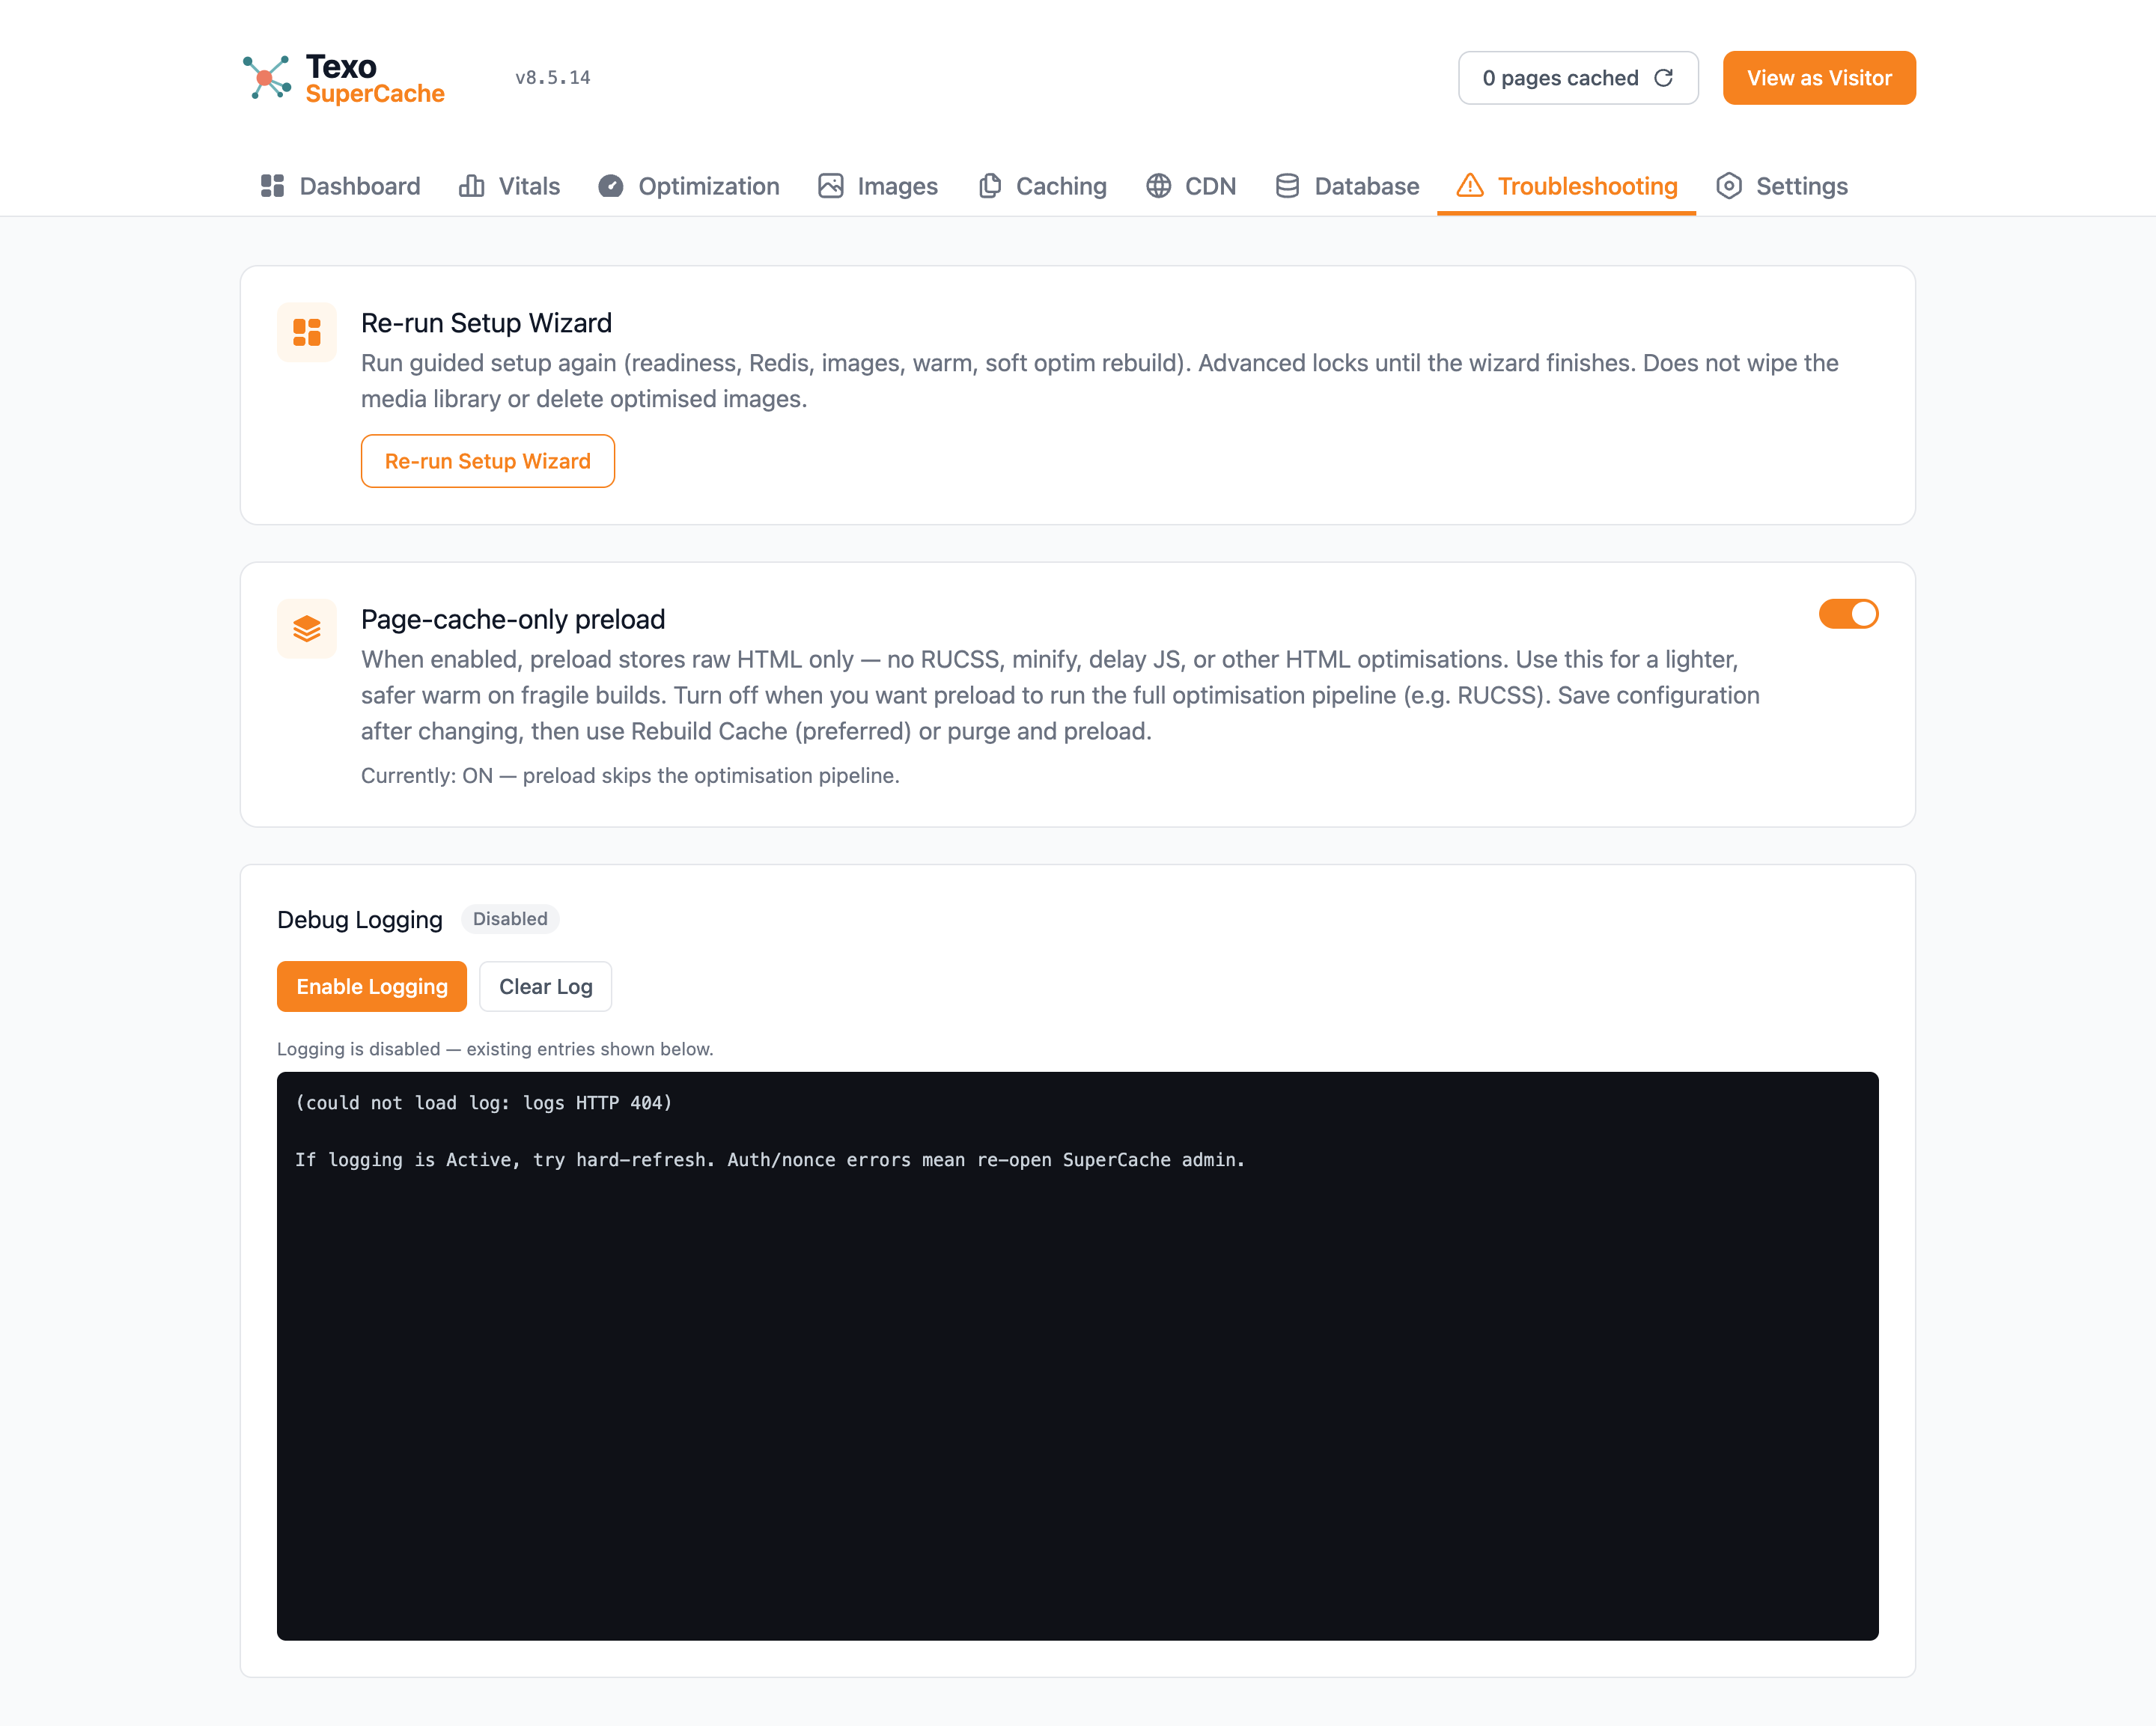
Debug Logging

Enable detailed logging and view/clear the log.

Recommendations

Shows recommended System Cron Job command for reliable background tasks.

Image Optimizer

Accessible from the WordPress Media menu. Bulk convert images to AVIF/WebP, with Optimize All, Stop, Restore, and Delete Originals options.

Frequently Asked Questions

How long does a full preload take?

It depends on site size and speed level. A 100-page site at Normal Speed typically takes 3–5 minutes.

Will visitors see a slow site during preloading?

Only pages not yet preloaded will be slower. Already cached pages remain fast.

What should I do when I update my theme?

Run Purge & Preload immediately.

What should I do when I publish a new post?

Nothing — the plugin handles it automatically.

Why does the preload keep running even after I thought it was done?

Real visitors trigger on-demand caching for any remaining pages.

My preload or image optimization seems to stall overnight. Why?

Use the System Cron Job in the Recommendations card.

Can I use this plugin alongside other caching plugins?

No. Deactivate any other caching or performance plugins.

What’s Changed Recently

A summary of updates since earlier editions of this guide (plugin versions 8.3.27 through 8.3.150).

New features

  • Constellation branding (version 8.3.150) — updated dashboard header, menu icon, and re-auth screen
  • System cron copy (version 8.3.149) — Recommendations card uses a CLI PHP path so cPanel cron jobs run reliably
  • Fleet-safety WooCommerce tweaks (version 8.3.148) — safer store-page scope, catalog grid CSS, and heading soften for multi-site fleets
  • Security tab WAF improvements (versions 8.3.118–8.3.120) — slot meter shows Cloudflare’s 5-rule limit with active/disabled breakdown; rules sorted Active → Disabled → Not deployed with subtle card backgrounds; Remove from CF on Texo rules; Allow Texo Optimizer shows REQUIRED only when Remove Unused CSS is on; tab load syncs with Cloudflare; Enable/Disable preserves rule names in Cloudflare
  • WooCommerce Optimization card (Optimization tab, version 8.3.102) — optional "Disable assets on non-store pages" removes Woo CSS/JS, order-attribution scripts, and (on classic cart/checkout) block library assets on non-shop/cart/checkout/product pages; default off; filter hooks for header mini-cart themes and custom handle lists
  • Disable WooCommerce cart fragments (Optimization → Remove WordPress Bloat, version 8.3.101) — optional toggle that stops wc-cart-fragments.js on non-shop/cart/checkout/product pages; default off; includes texo_supercache_woo_keep_cart_fragments filter for themes with a site-wide header mini-cart
  • Block Scanners security rule (Security tab)
  • Recommendations card (Settings tab) with System Cron Job
  • Disable Autoload on Large Options — now a persistent toggle
  • Updates from the Plugins page with auto-reload

Reliability and performance

  • Overnight stalls fixed
  • Image optimizer recovery improved
  • Safer cache writes (atomic)
  • Queue stability under load
  • Cloudflare API efficiency
  • Authorisation auto-recovery
  • Security hardening

Interface fixes

  • Option buttons now highlight correctly
  • Various smaller display and notice fixes

Questions about SuperCache? Submit a support ticket and we'll help you out.