
TEXO HELP CENTRE
How to set up email in Outlook.com
This guide takes you step-by-step through the process of setting up your Texo-hosted hosted email account using the online Outlook.com mail client.
- For Outlook 2016, Outlook 2013, Outlook 2010 or Outlook for Mac, refer to those specific guides.
- Replace example.com with your domain name.
- Check your password by browsing to Webmail and trying to log in. If you aren’t able to log in, then you have the incorrect password. Forgotten passwords can be reset in your control panel – you will need to get your domain or web administrator to update it for you if you don’t have control panel access.
Set up your email account
- Browse to https://outlook.live.com to launch Outlook.com
- At top right, select the Settings (cog) icon

- Scroll to the bottom of the tab and click on View all Outlook settings

- Select Sync email and then Other email accounts

- Under Connect your account
- Fill in your name, email address and password
- Select either storage location
- Tick Manually configure account settings
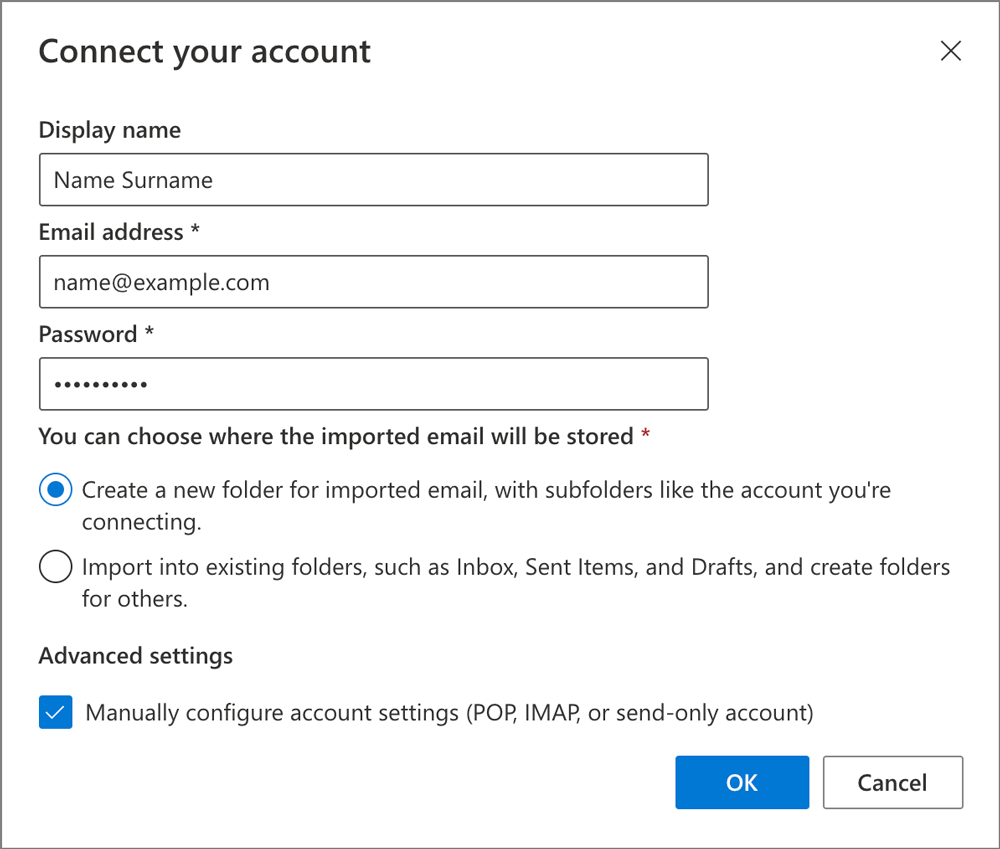
- Under Advanced settings
- ensure that your user name is your full email address
- select either IMAP/SMTP or POP/SMTP connection settings (Help me choose)

- Further down the page, complete the settings, making sure that:
- Incoming server is mail. followed by your domain name e.g. mail.example.com*
- Incoming server port is 993 (IMAP) or 995 (POP)
- Authentication is set to Basic
- Encryption is set to SSL
- Send email using your provider’s server is ticked
- Outgoing SMTP server is mail. followed by your domain name e.g. mail.example.com*
- Outgoing server port is 465
- Click OK

- The setup is complete and your mail will be imported from the server.