Login at sendit.texo.co.za.
Sendit! is Texo’s newsletter and bulk-email service — a fully managed platform running on Texo’s infrastructure with Amazon SES for fast, reliable delivery. You get a feature-rich dashboard without installing software or managing AWS yourself.
What you get
- Unlimited subscribers, mailing lists and campaigns
- A monthly send quota based on your plan (10 000, 25 000 or 50 000 emails)
- Drag-and-drop email editor, AI Assistant, list segmentation and beautiful reports
- Autoresponders, rules, webhooks, custom fields and custom sending domains
- Brands with optional client access — ideal for agencies
- Bounce and complaint handling, plus housekeeping tools
- Login at sendit.texo.co.za
See Sendit! plans and pricing for current tiers.
Step 1 — Order Sendit!
- Log in to the Texo Client Area (or register first).
- Choose Order New and pick a Sendit! plan — Small, Medium or Large.
- Complete checkout. You can also order from our Sendit! product page.
After your order is active, we provision your Sendit! account and email your login details to your Texo contact address.
Step 2 — Log in
Visit https://sendit.texo.co.za and sign in with the email and password from your welcome message. The login page title reads SENDIT! with Texo.
Tip: Login email and password are case-sensitive. If you forget your password, use Forgot password? on the login screen.
Step 3 — Create your first brand
In Sendit!, a brand is a workspace for one business, product line or client. Everything — lists, campaigns, templates and reports — lives inside a brand.
Examples:
- One company with several products → one brand per product
- An agency → one brand per client
- A single newsletter → one brand is enough
After logging in, click Add a new brand, enter a name (e.g. your company or newsletter name) and save.
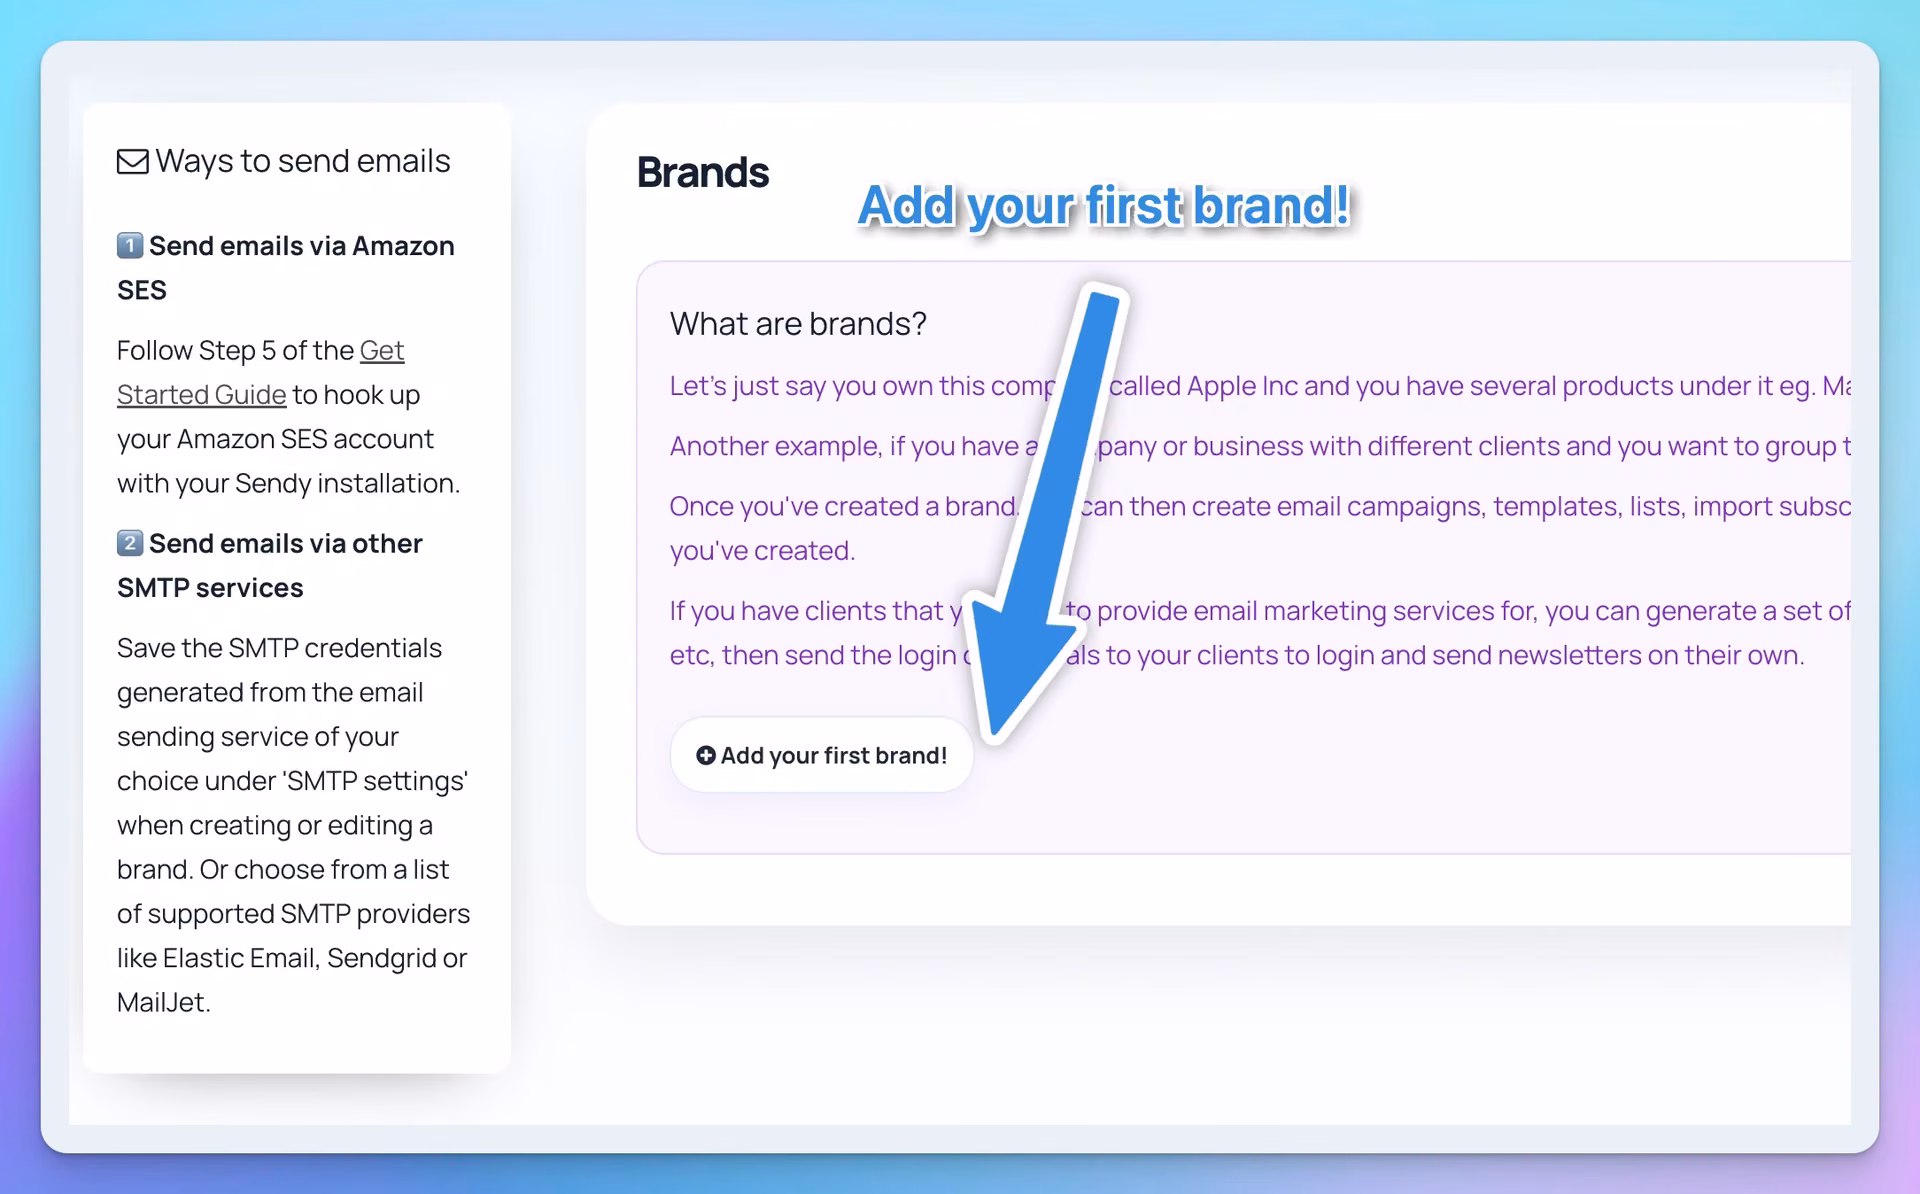
Once created, you land in the brand dashboard where you can add lists, import subscribers, create templates and send campaigns.
Step 4 — Create a list and add subscribers
- In your brand, go to View all lists → Add a new list.
- Name the list (e.g. “Main newsletter”) and choose single or double opt-in.
- Add subscribers manually, paste emails, import a CSV, or embed the built-in subscribe form on your website.
Important: Only add people who opted in. Purchased lists and cold outreach violate our terms and hurt deliverability.
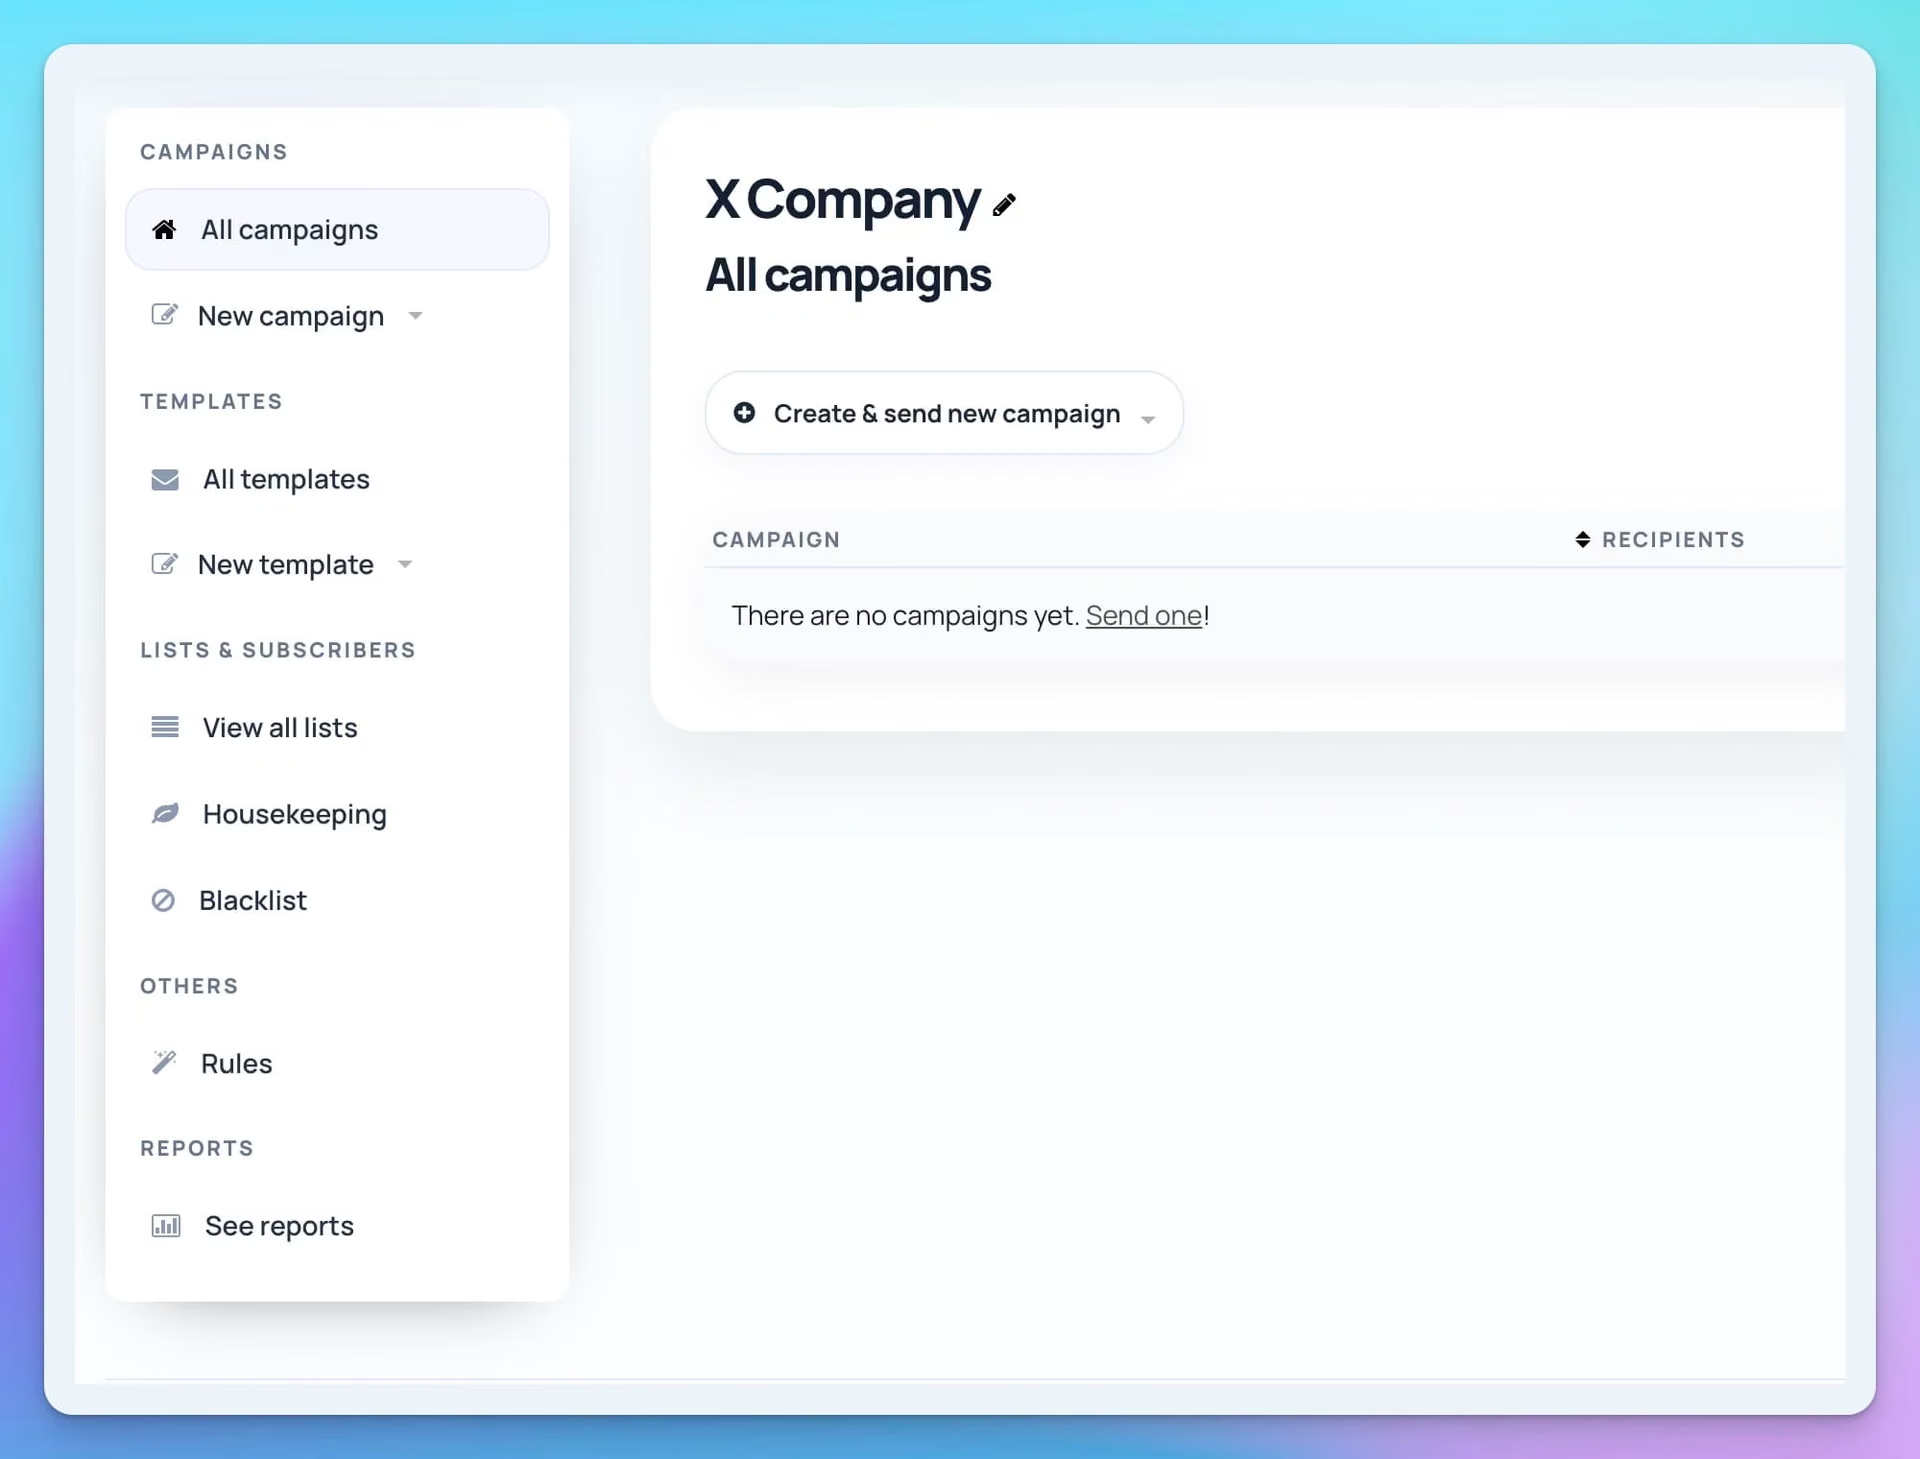
Step 5 — Send your first campaign
- Click Create a new campaign (or Create & send new campaign).
- Choose a template, use the drag-and-drop editor, or paste HTML — set subject line and plain-text version. Try the AI Assistant for subject-line ideas.
- Select the list (or segment) to receive the campaign.
- Send a test email to yourself first.
- When happy, click Send now or schedule for later.
Campaigns count against your monthly Sendit! quota. Large sends are queued and delivered in the background — you can leave the page while sending continues.
Next steps
- AI Assistant setup — create an OpenAI API key and send it to us to enable AI in your Sendit! account
- Sendit! complete user guide — lists, segmentation, autoresponders, reports and more
- Sendit! troubleshooting — login issues, imports, bounces and common errors
- Sendit! product page — plans and feature overview
Still stuck? Submit a support ticket and we’ll help.